.
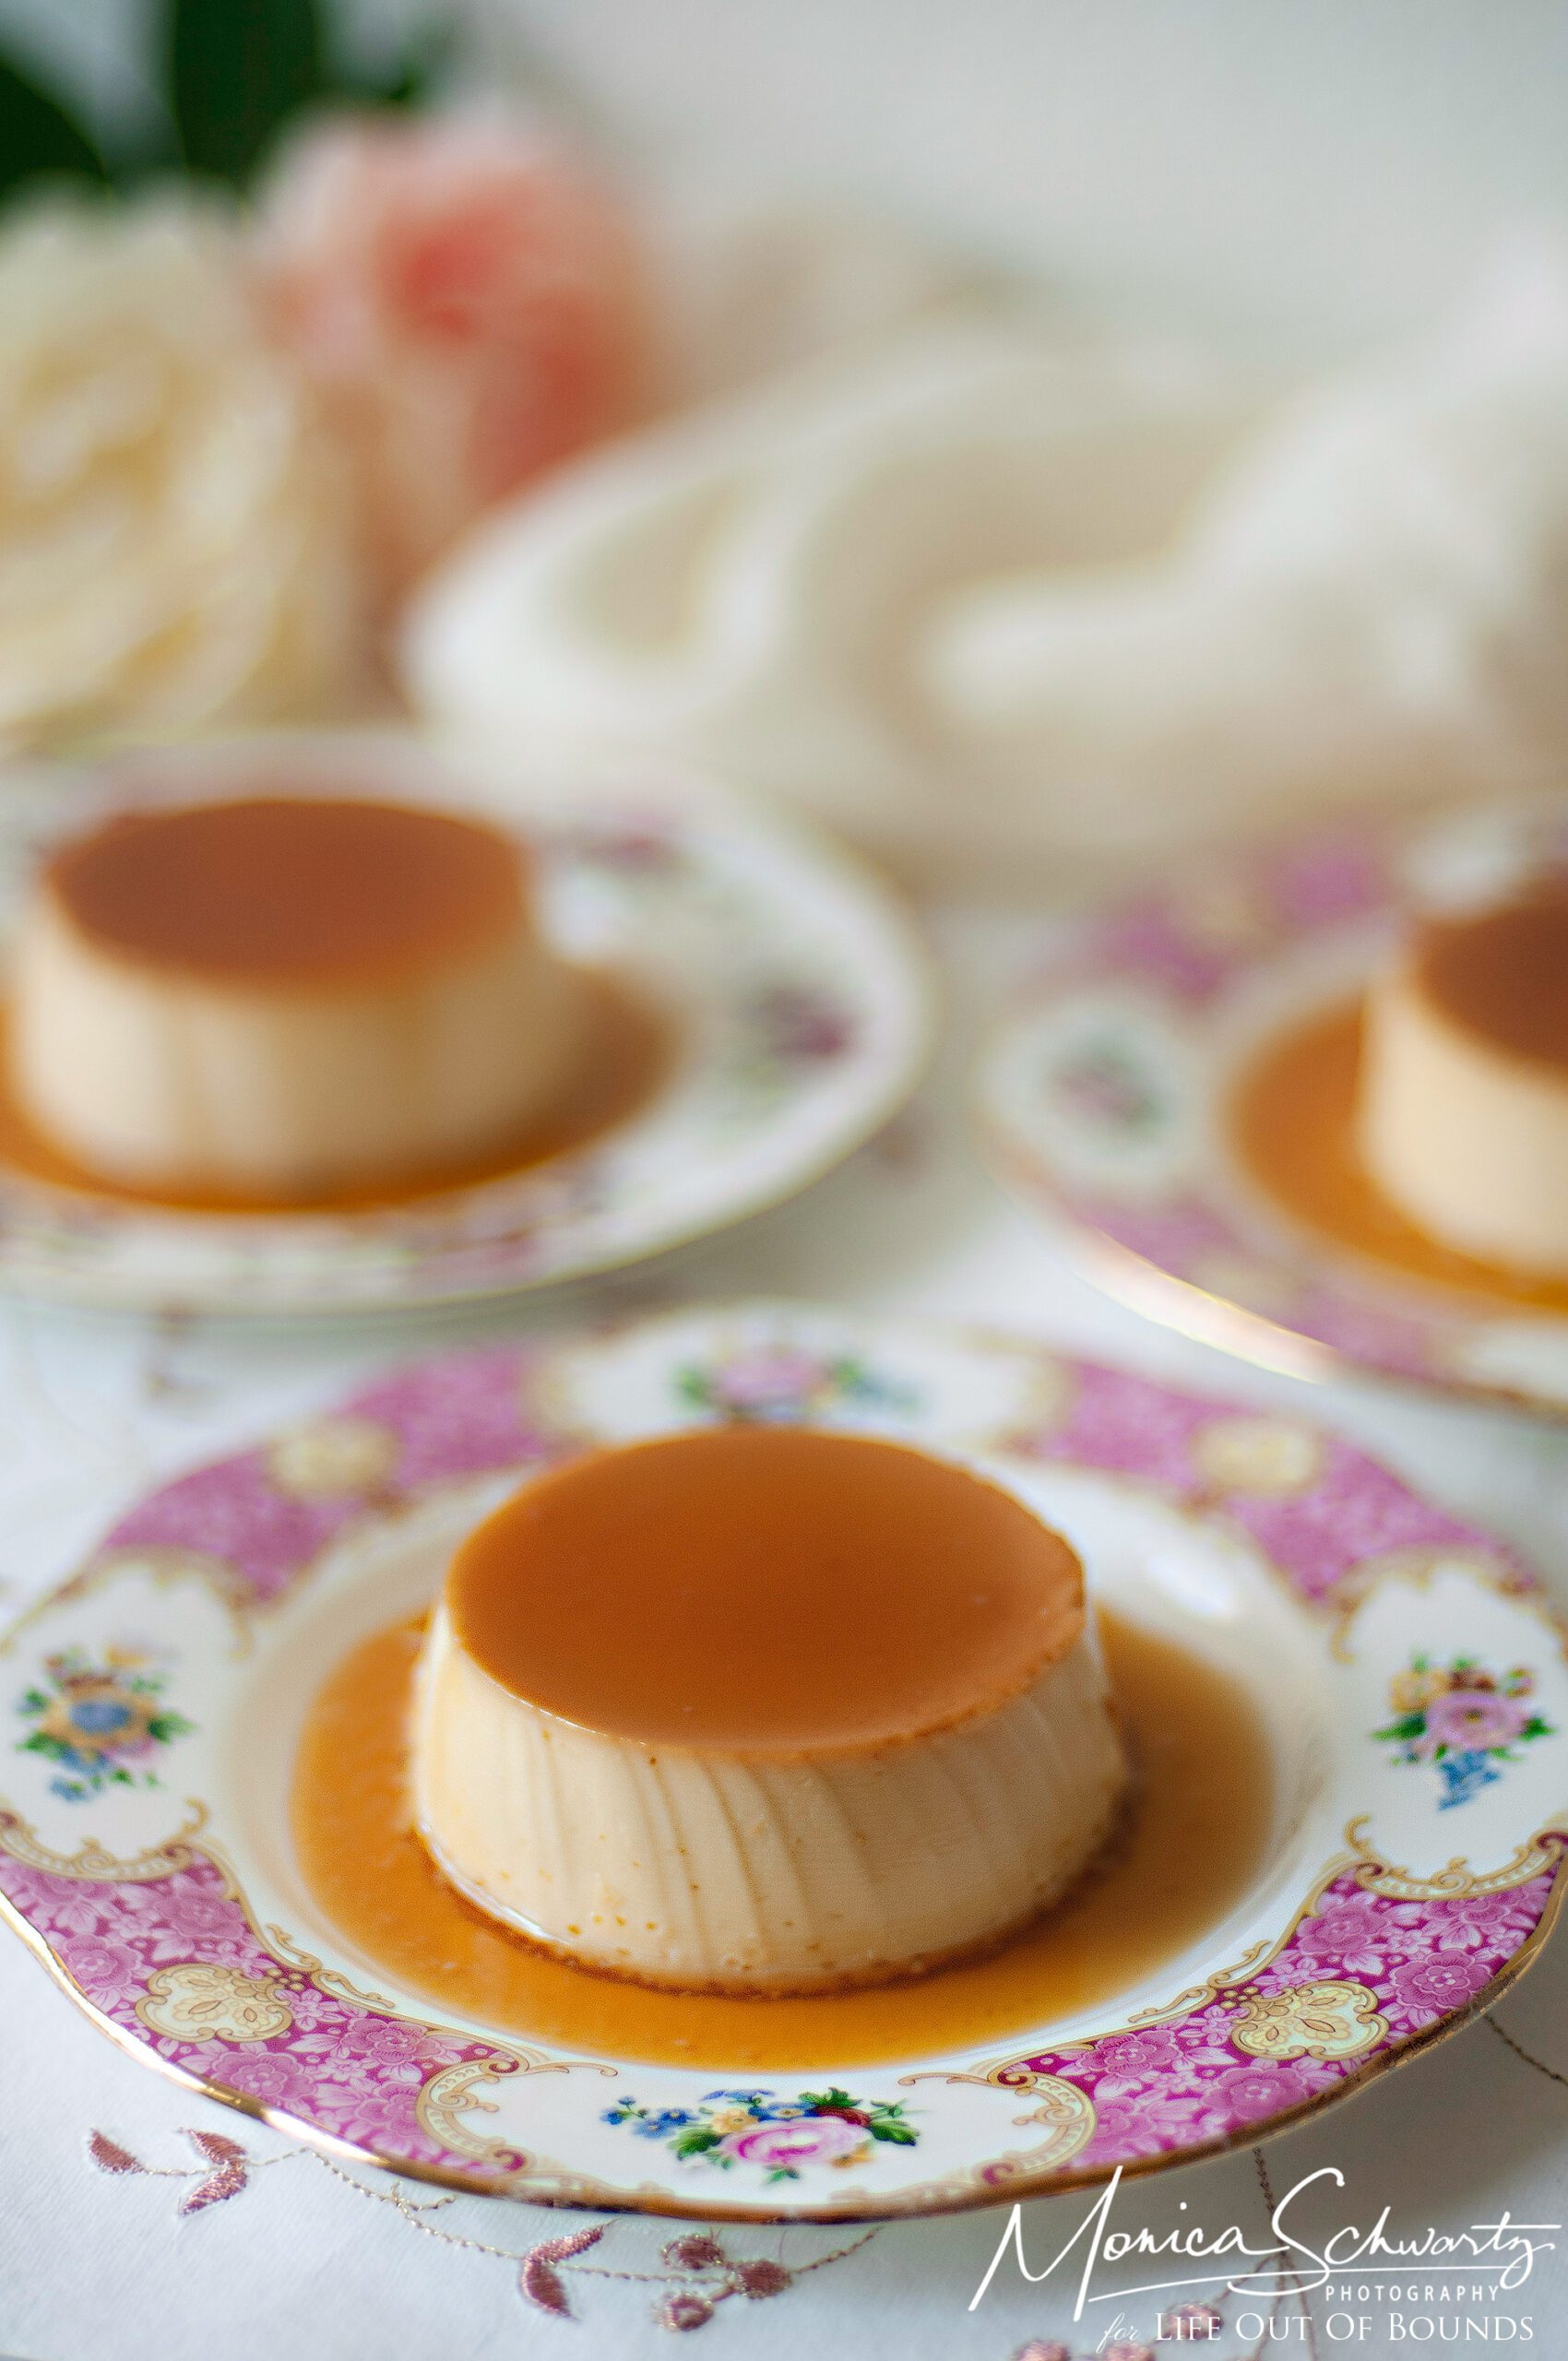
The light, silky smoothness of Crème Caramel is what makes it my favorite dessert of all times. And if you know me, you know that I like pretty much all desserts – except for the “deconstructed” ones that were popular for a (blessedly) short while a few years ago. I am also generally not fond of nutty things.
I like flans as well, though often flan recipes include ingredients like cream cheese and/or condensed milk, which give them a denser, thicker and richer texture. For me that is a bit much. But I’ll order any kind of flan is that’s the option on the menu.
Then there are pots-de-crème and crème brûlée, which come third in my custard choices because of the richness of the cream. Still fabulous though.
.
.
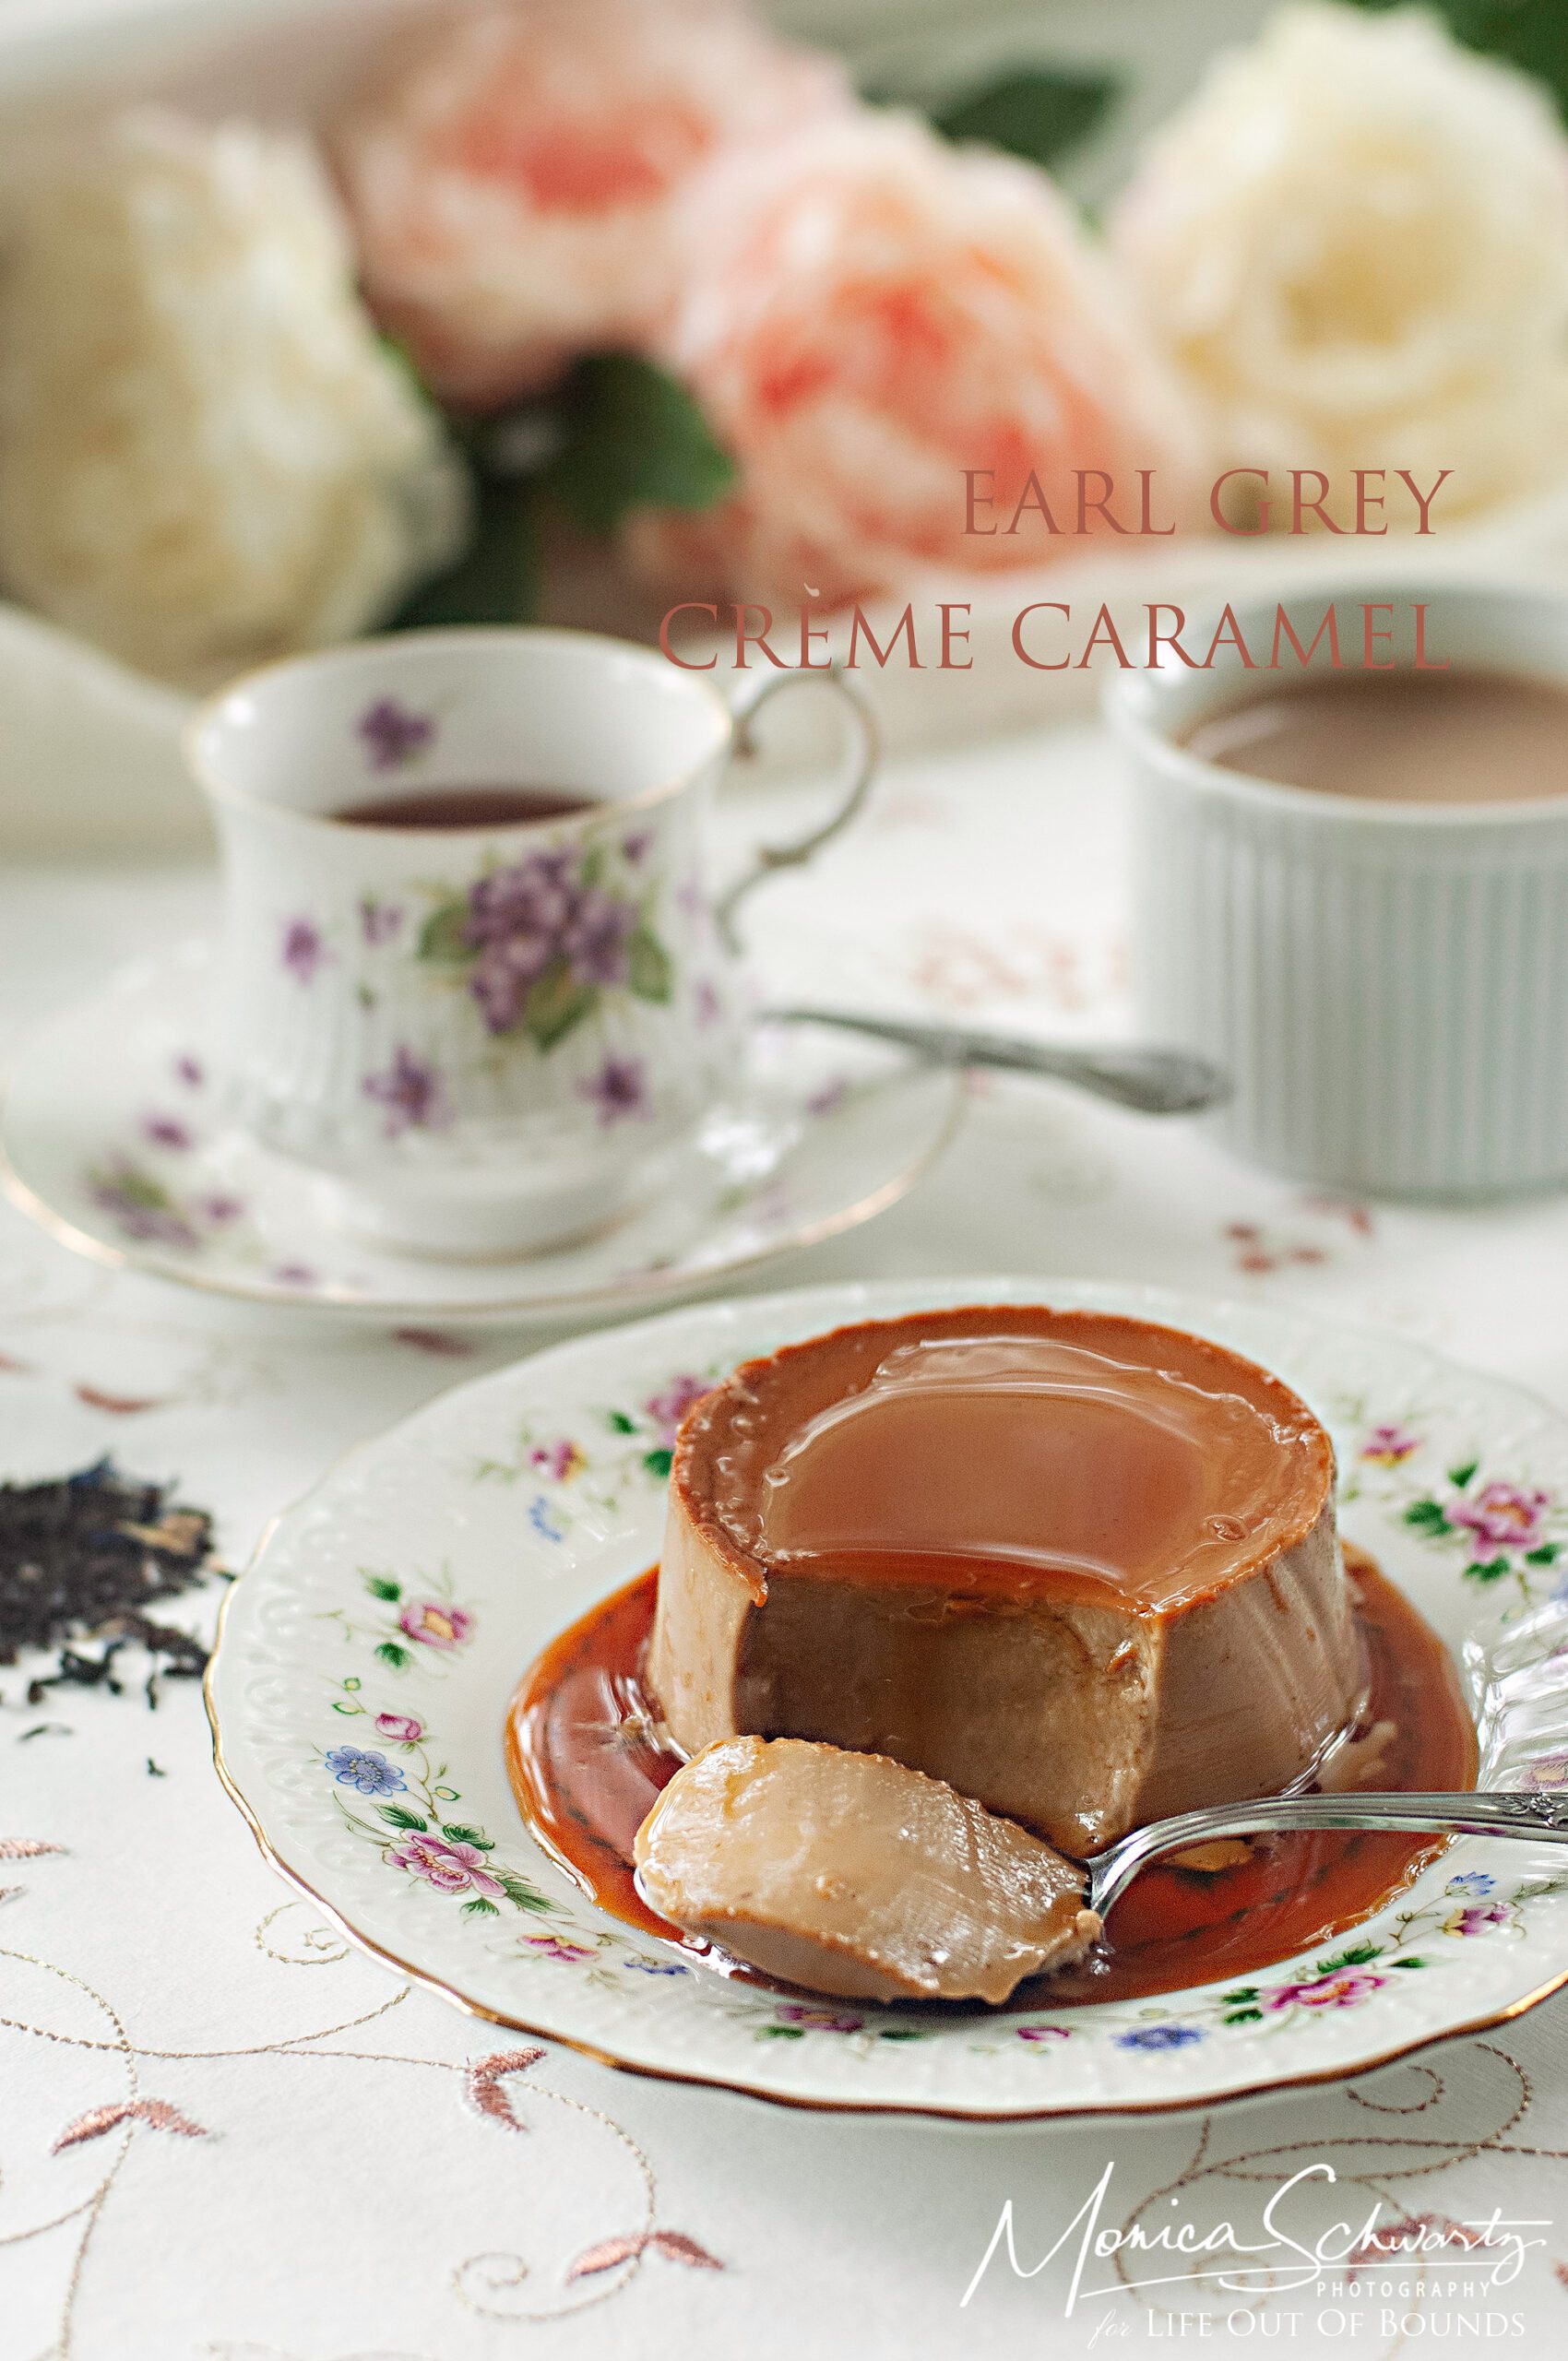
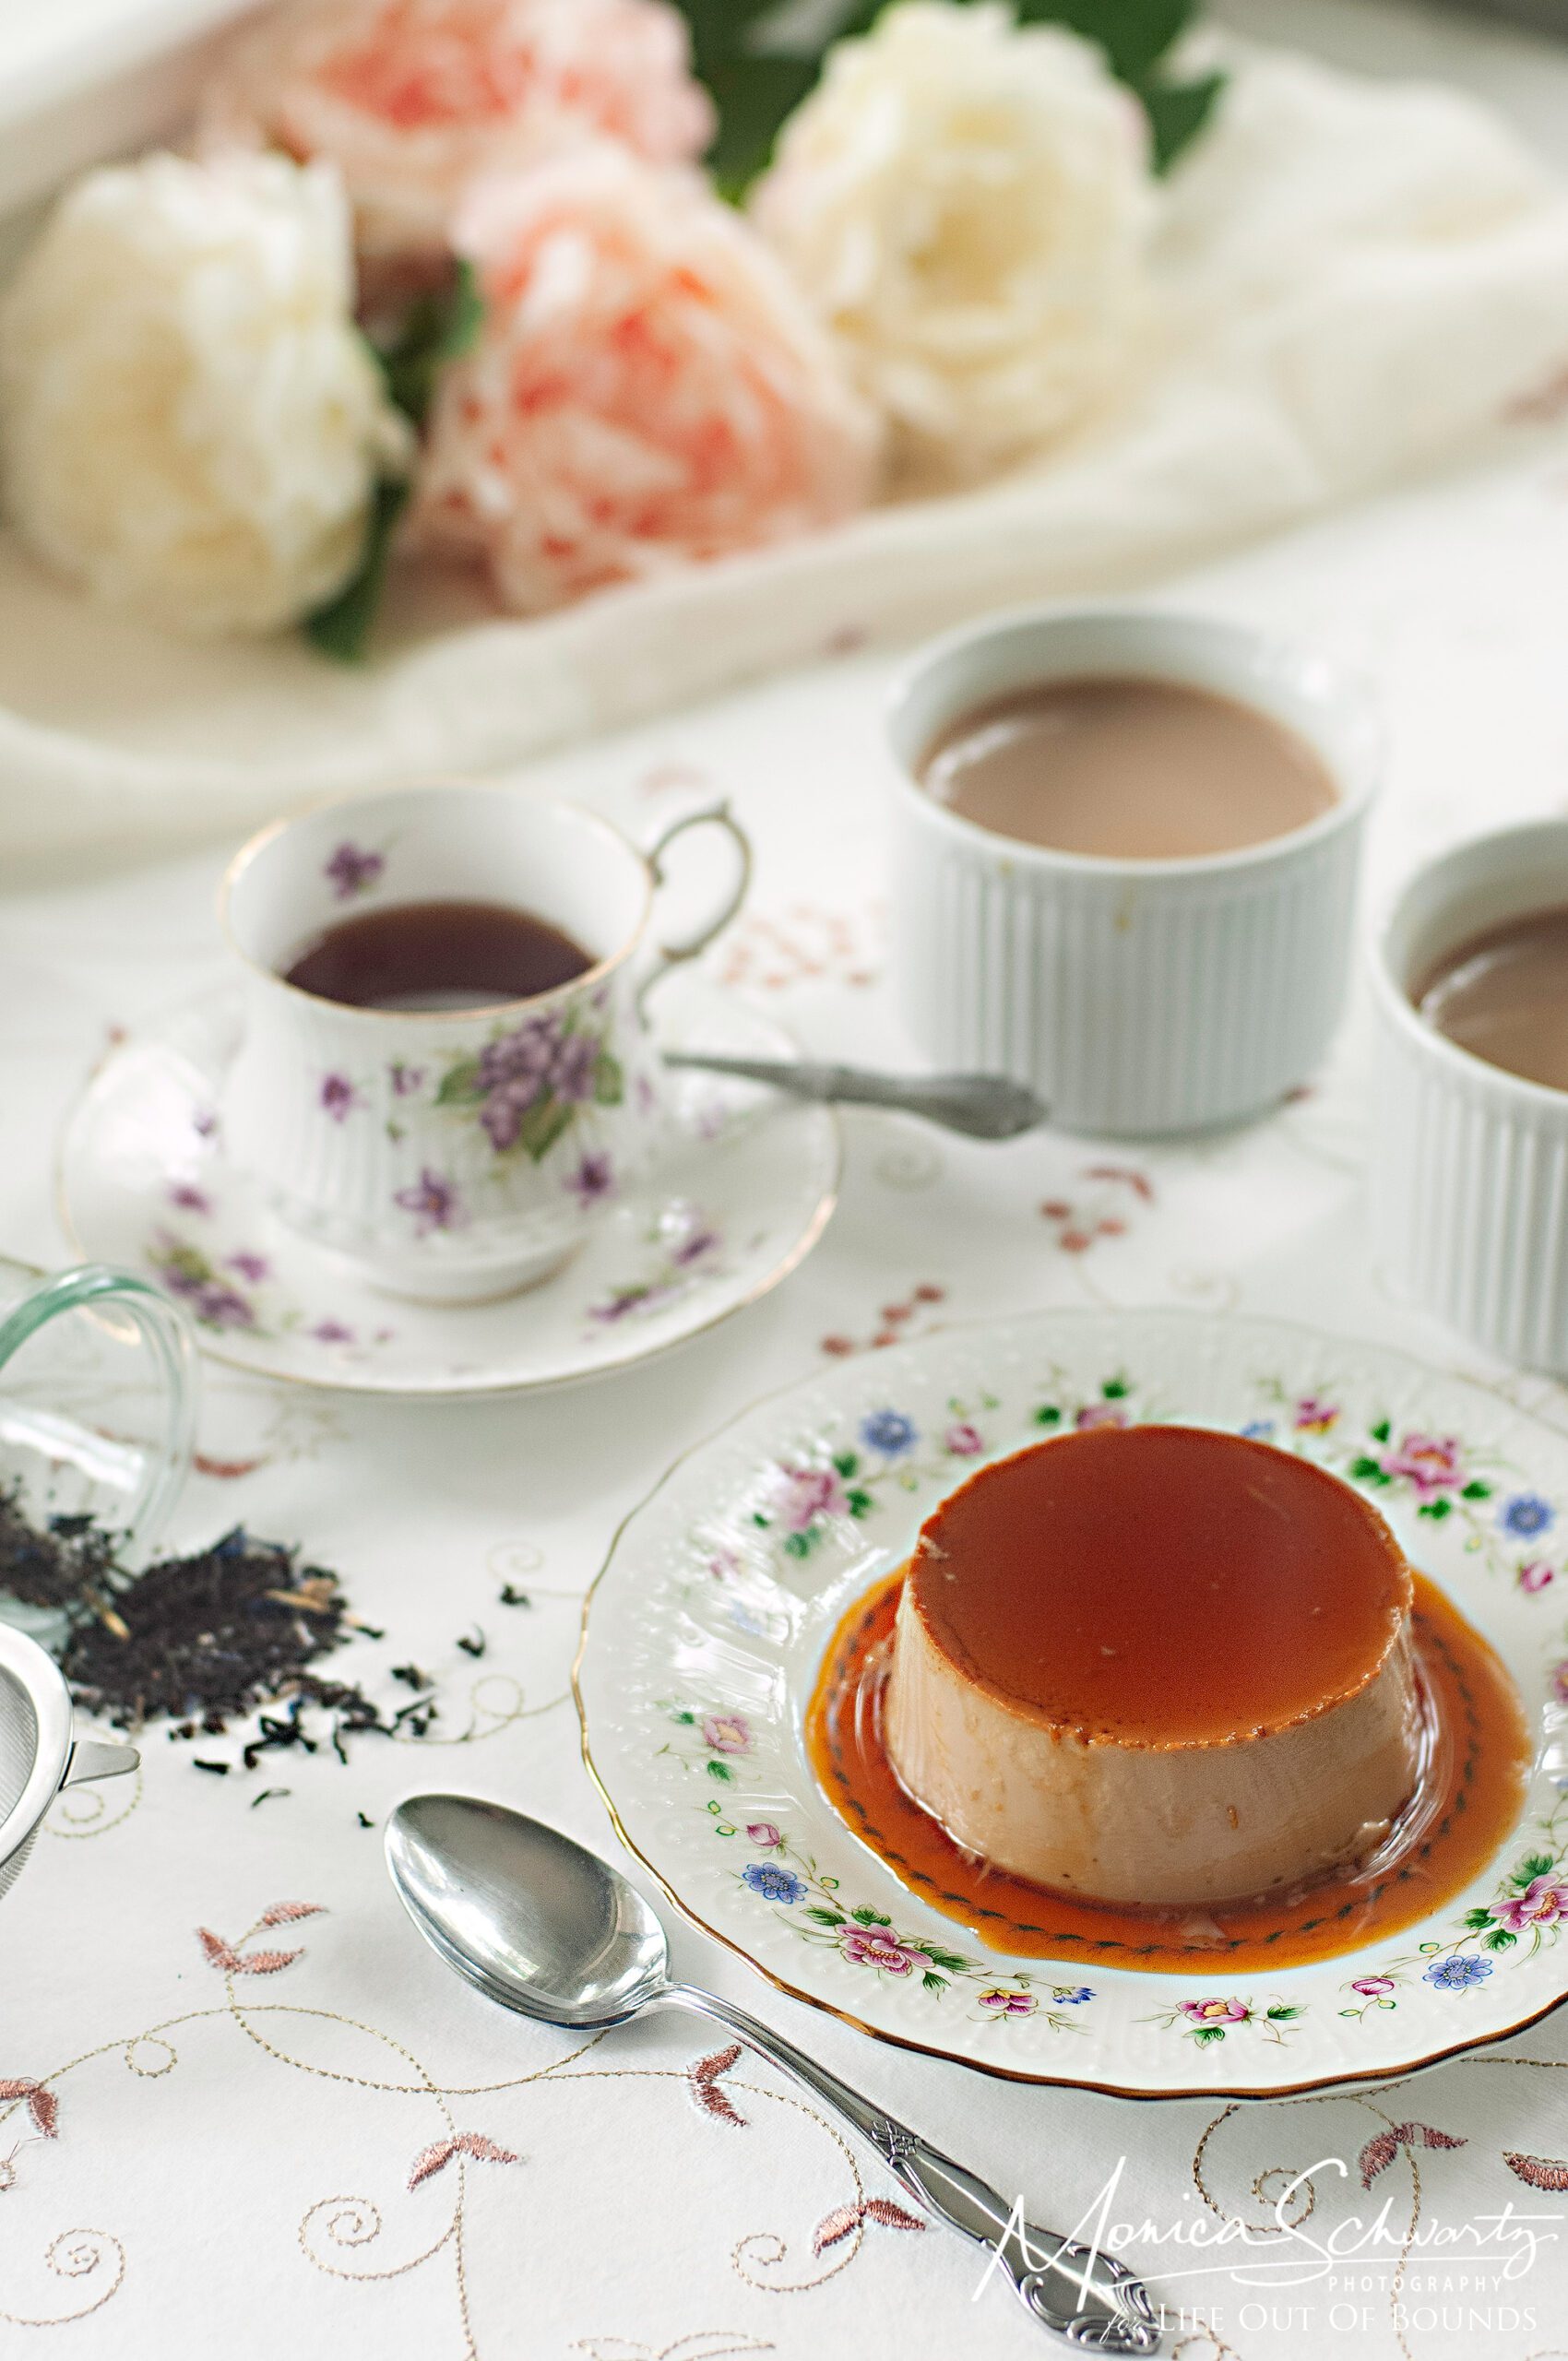
Good quality, loose leaf Earl Grey is my favorite tea. A few months ago I came across a recipe for an Earl Grey Chocolate Cake. Instantly my antennae went up at the Earl Grey part, though just as instantly I knew that it was unlikely that the delicate flavor of bergamot and tea would show through the intensity of chocolate. Still, I had to try it once. The cake was lovely, but I was right, the Earl Grey disappeared under the chocolate, despite brewing a strong tea.
It was pretty clear that the only way to truly make the Earl Grey show through was by using it in a milk/cream based dessert, like panna cotta, créme caramel, pots-de-crème and crème brûlée. I will certainly make the panna cotta version as well – I actually have a couple more variations in mind, which I will add to the two currently already available on the blog – but I really wanted to test the Earl Grey Crème Caramel first.
.
.
I did that yesterday, and the result was better than I even imagined. So here goes, the classic recipe for this easy, yet divine dessert, plus the Earl Grey version – which only requires a minimal tweak.
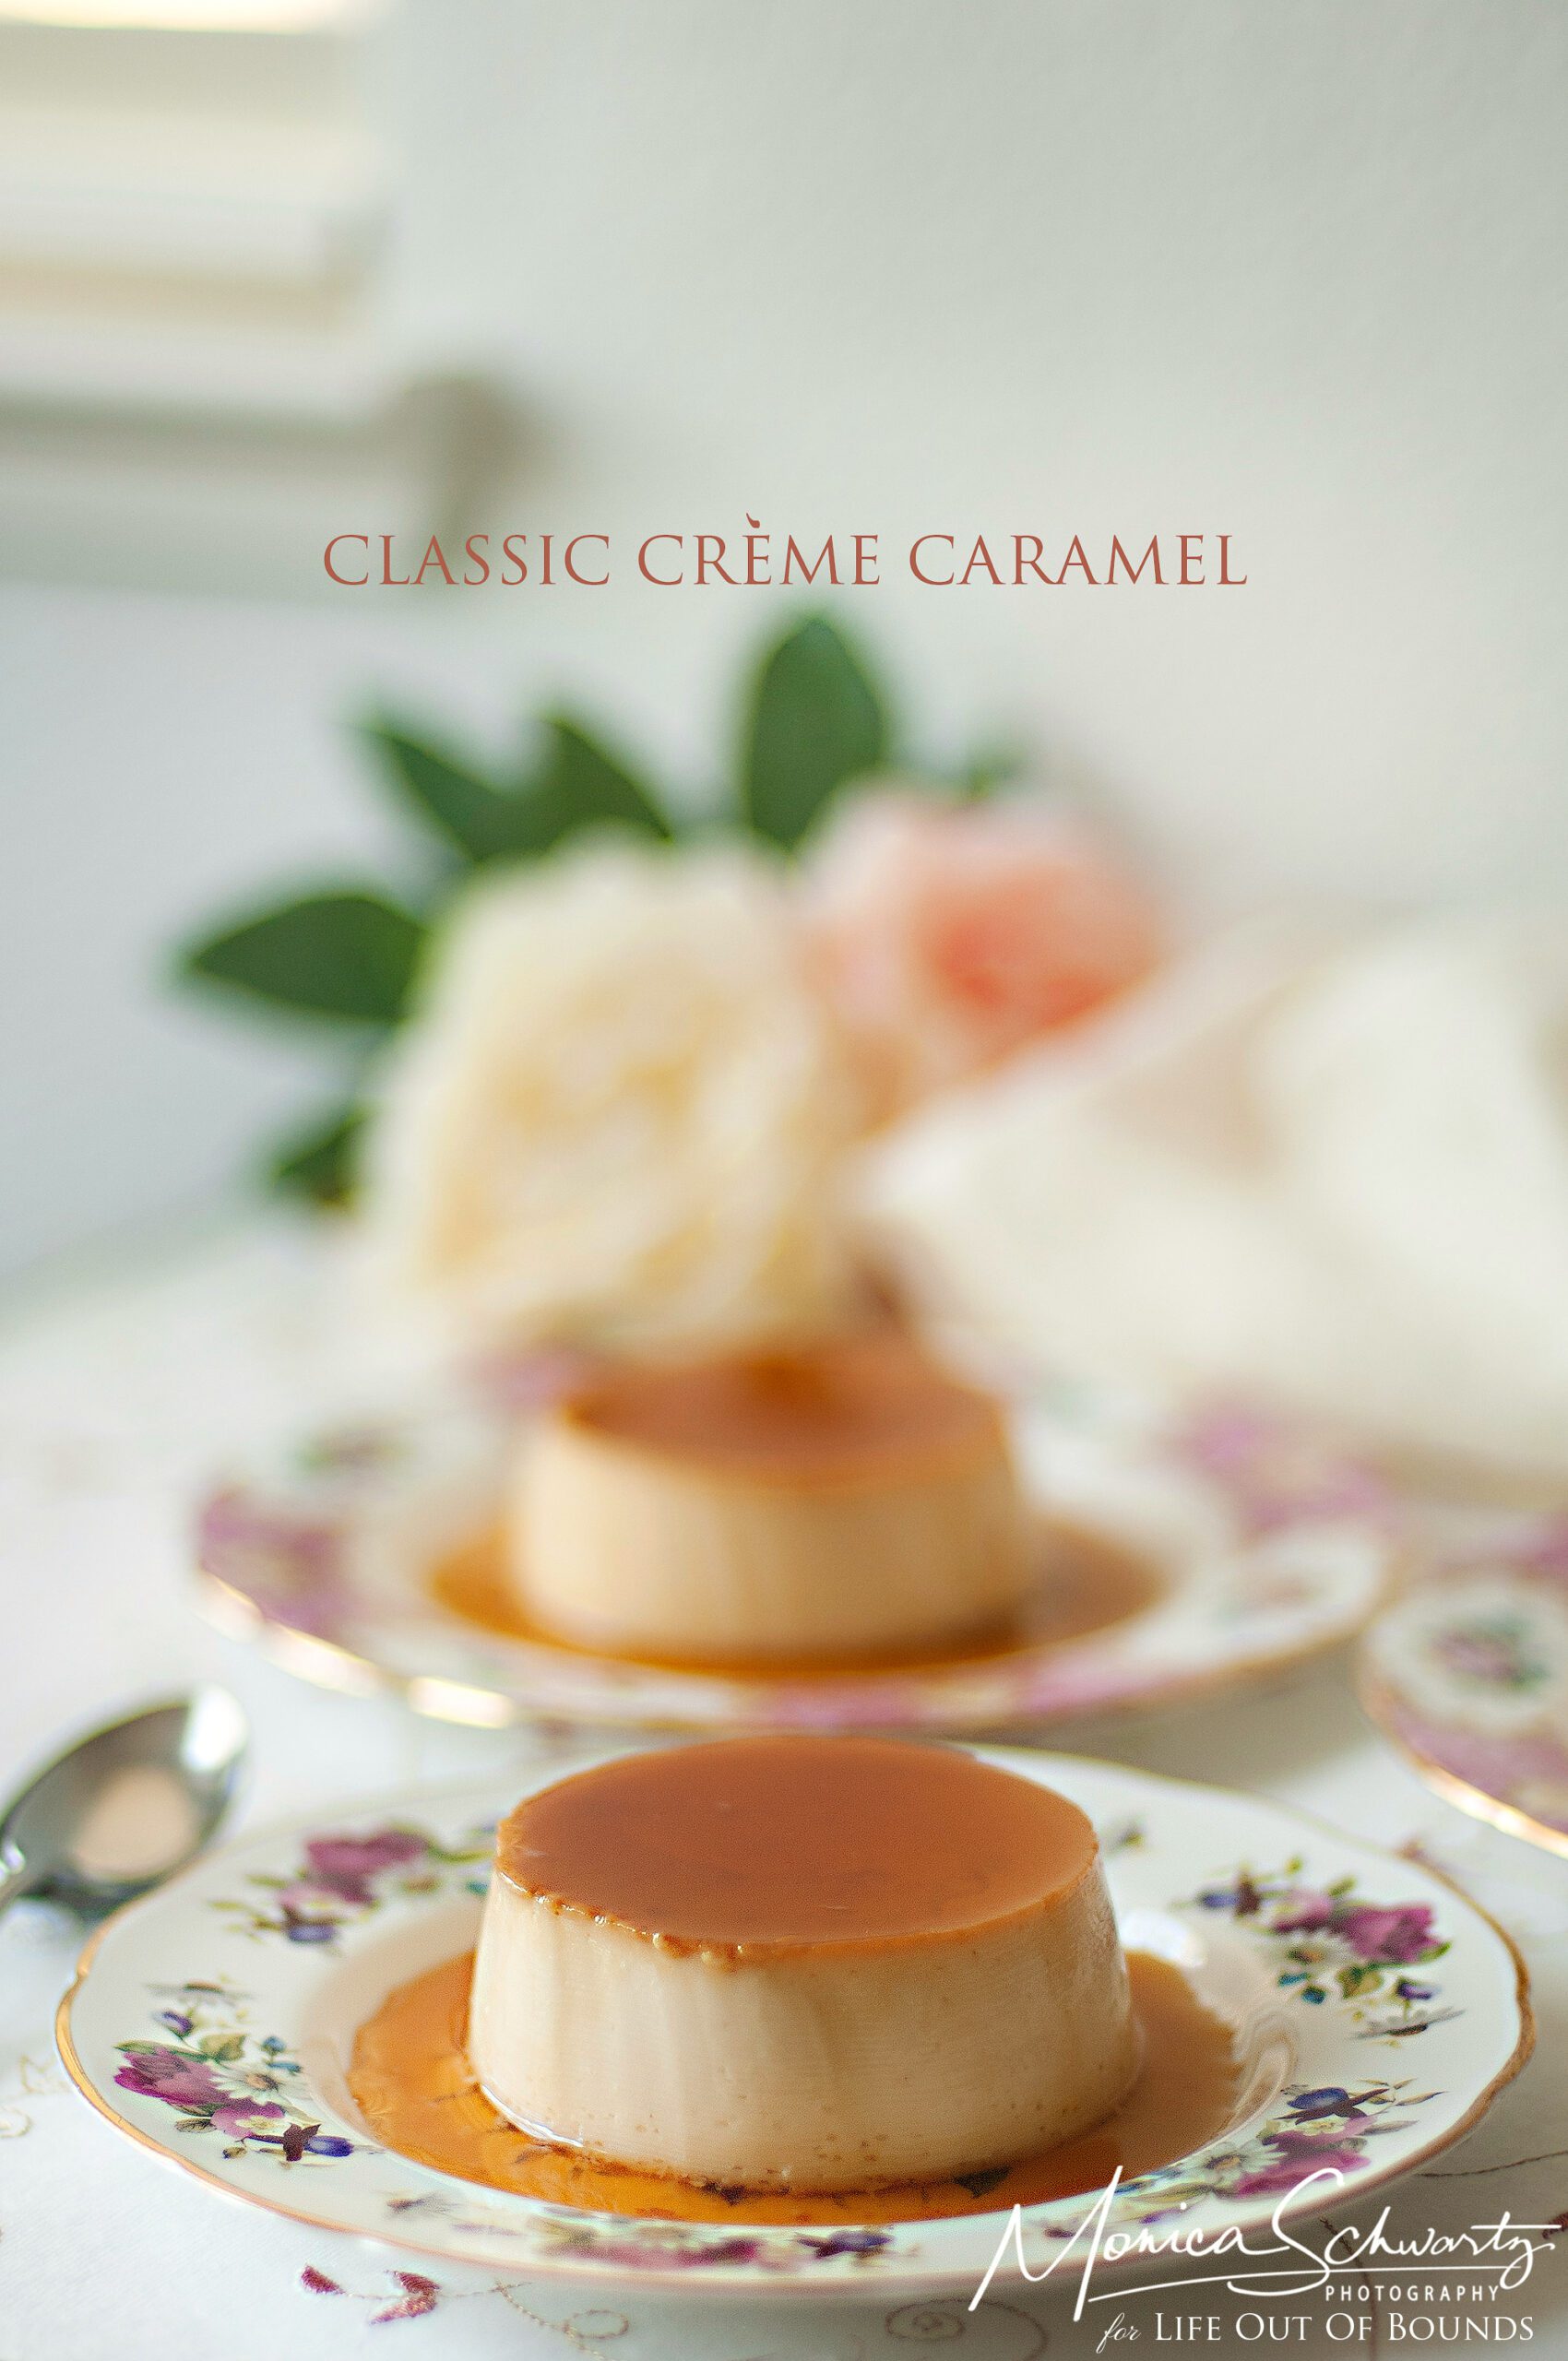
CLASSIC CRÈME CARAMEL + EARL GREY CRÈME CARAMEL
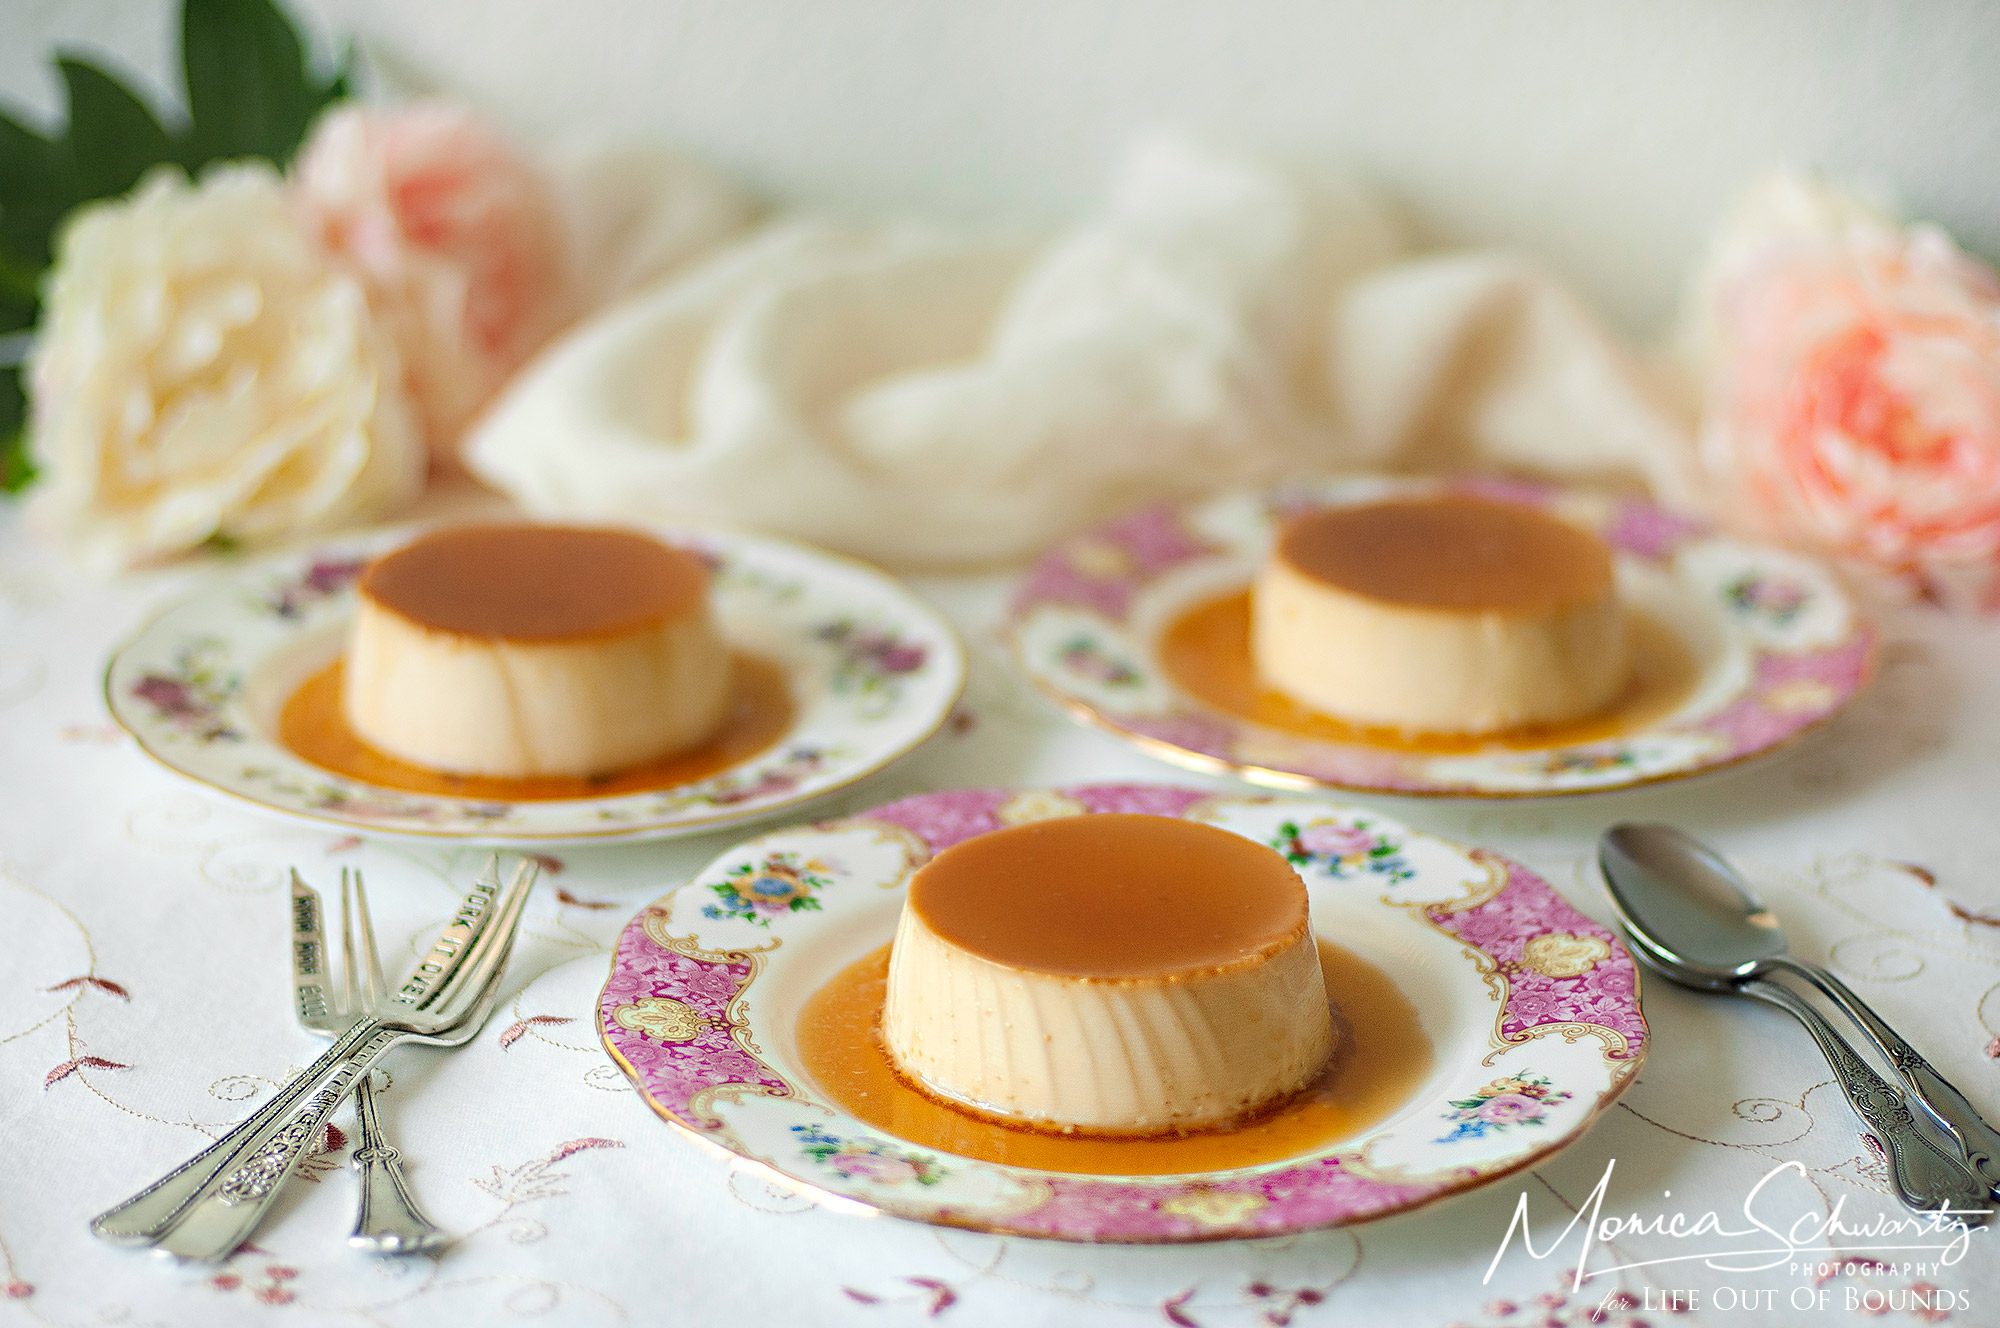
yields 1 8-inch round crème caramel, or 7 singles (I use these 8fl. oz ones), or more if you use smaller ones
INGREDIENTS
- 4 large eggs (at room temperature)
- 8 large yolks (at room temperature)
- 1 liter (4.22 cups US)
- 2 teaspoons pure vanilla extract
- 200 gr. granulated sugar
For the caramel:
- 280 gr. granulated sugar
- 50 ml. water
If you are making the Earl Grey version, you will also need:
- 2 Tablespoons of good quality, loose leaf Earl Grey tea (like this one, or this one)
Special tools needed:
- either single ceramic ramekins (as mentioned above), or 1 8.5-inch diameter (21.5 cm) ceramic or stainless steel baking pan. I have a flanera like this one. It has a lid, but I prefer to bake the creme caramel with the lid off. Yields a firmer result. But then the lid is good if you are transporting it.
- large stainless steel baking pan (I use a large stainless steel roasting pan, but a lasagna pan will be fine, too) for the bain-marie (hot water bath)
.
.
PROCESS
I will now share the process for the classic crème caramel. Then at the bottom I will add the tweak to make the Earl Grey variation.
- Make the caramel. This step is both easy and delicate at the same time.
Place the sugar in a stainless steel saucepan with a heavy bottom. Add the water, and gently stir without sending sugar and water up the sides beyond the sugar level. No more stirring from this point on.
Place a small bowl with (room temperature) water and a pastry brush next to the stove.
Turn on the heat to medium-low as the sugar needs to dissolve gently. Once the sugar has dissolved, you can turn the heat up a little so it starts lightly bubbling and then colorizing. If you notice build up of bubbles around the edges, brush the edges down with the pastry brush dipped in water. This avoids crystallization.
Let the sugar cook until it reaches the desired color. Too light and it won’t taste like caramel, too dark and it will taste bitter and burned. So watch it, because when it starts coloring, it all goes very fast. - Holding the pot handle with a heat-proof mitt, pour the liquid caramel equally into the ramekins or all into the larger single pan, and quickly give them a swirl, so the caramel goes up the sides a little. Be careful because caramel is extremely hot, the pot will be extremely hot, and the metal baking pan (if you are using that) will be instantly hot, too. Set aside.
- Pre-heat the oven to 320F / 160C.
- Prepare the crème.
Place the milk in a saucepan and bring to a simmer. In the meantime, place the 200 gr. sugar with the eggs and yolks and whisk well to blend. Keep an eye on the milk. As soon as you see tiny bubbles around the edges and/or steam, it’s ready. Don’t let it boil.
Now very slowly add the hot milk to the egg-sugar mixture. Start with 1 Tablespoon at a time and go in small increments, as the eggs need tempering gently so they will not curdle. Then add the vanilla extract and stir. - Prepare 2-3 liters of hot boiling water. I use my tea kettle for some, then add some of the super hot water that comes out of my sink faucet. That’s the way it is at this current house.
- Using a ladle, distribute the egg cream among the ramekins (or single pan) with the hardened caramel on the bottom by passing the cream through a fine sieve. This will eliminate any bits and bobs you don’t want in there, as well as most of the foam.
- Place the ramekins in the large baking pan. Slowly add hot boiling water into the pan so it comes up to about halfway the height of the ramekins or single pan. Place in the oven and bake for about 45 minutes (the single ramekins), or about 1 hour and 10-15 minutes if using a single large pan. You will know when it’s ready from the wobbly-firm consistency of the top, and a test skewer coming out clean.
- Gently remove the whole baking pan from the oven, wait a few minutes, then gently remove the ramekins (or pan) from the hot water bath (use oven mitts again) and place on racks to cool to room temperature.
When at room temperature, cover with plastic wrap and refrigerate for minimum four hours, best if longer. - When ready to serve, run a flat knife (with a rounded tip) or a narrow metal spatula around the edges of the crème caramel and invert onto single dessert plates, or a large serving platter with a lip to contain the caramel, which will be liquid by now.
Enjoy!
.
.
MAKING THE EARL GREY VERSION
Bring the milk to a simmer on the stove. Remove from heat and add the tea leaves, give it a gentle stir and cover with a lid. Let steep for about 10-15 minutes while you blend the eggs and sugar.
Gently add the hot milk (including the tea leaves) to the cream as described above. Then add the vanilla. The tea leaves will be removed by the fine sieve as you distribute the egg-cream into the baking pan(s).
So, quite easy, but a big difference in flavor.
.


.
Seven ramekins of Crème Caramel vanished in basically one day, because of course I shared. So I will be making more soon.
.
.
.


