
.
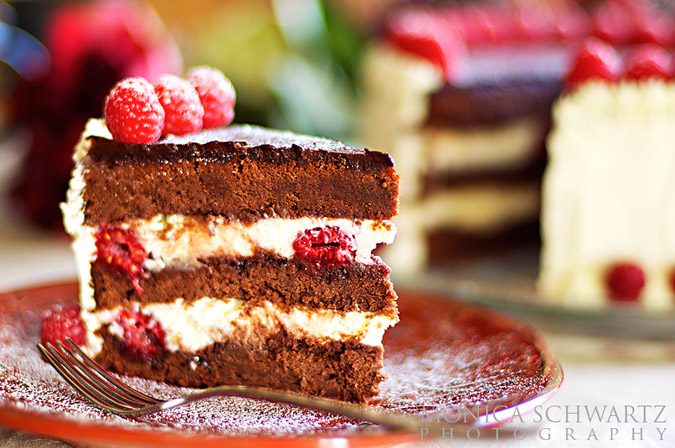
Honestly, the title to this blog post should be: “The Adventure of the Chocolate Cake”.
I have made hundreds of similar cakes in the past, but I never encountered so many problems as when I made this one. It was as if I had stepped into the baking department of Murphy’s Laws: whatever could go wrong, did.
Good thing I knew how to fix the problems, but… After four days I finally had a cake, but was exhausted. Consider, I decided to make this cake because I had a serious craving for a slice of really good chocolate cake with a creamy (non- chocolate) filling. By the end of the four days I no longer wanted any. I was chocolate-caked-out!
.
In any case, I figured I might as well share all this wild ride of a process, just in case any of this happens to you, too.
It started with choosing to bake a chocolate cake pod using a new recipe I had not tested before. I found it on a new book I recently bought: Tea with Bea, with recipes from Bea’s of Bloomsbury – a famous bakery & tea shop in London. The photo on the cover looked as edible as a good cover image should, so I looked up the recipe inside, read it, thought it sounded a bit chocolatey but good, and decided to try it. After all, I did not have a deadline on the cake, and this was not intended for anyone but myself and the blog: I could risk a new recipe.
.
.
Well, it did not work. The cake came out of the oven looking just right. But upon slicing it once cooled, it was heavy, powdery bitter and a little stodgy, at least for my taste, and I just could not use it. Off with its head! I tossed it (please don’t cry), and baked my usual recipe instead. First hiccup.
.
Unfortunately, I made this discovery when the mascarpone cream filling was all ready and waiting. This had to be stored in the refrigerator till the next day, when the new cake was baked and cooled and I was in the mood to tackle the process again, not to mention have the light to take the photos. Second hiccup.
.
Have you ever tried layering a cake with a filling that has already set and cannot be made spreadably soft again without the whole thing coming apart? Not fun. With lots, heaps, of patience, I finally managed this stage, and the cake went in the refrigerator for setting.
.
Time to make the chocolate ganache, something that, what with cakes, truffles, little desserts and whatnots, I must also have made hundreds of times in the past without a glitch. I had heard of ganache breaking, but it had never happened to me. Until now. Third hiccup.
.
I saved the ganache, though not all of it. By this point I was also losing my patience, so, instead of covering the whole cake as planned, I covered just the top. There was no way I would run to the store yet again to get more (expensive) chocolate and redo the whole process. I decided to decorate the sides with whipped cream.
.
.
There I am, with the cream all nice and whipped in my brand new sac-a-poche (pastry bag) and, as I start squeezing and decorating, the moistness from the cream starts sweating through the fabric of the bag (clearly defective), dripping down my hands and arms, onto the counter and the floor, making a sticky mess. Fourth hiccup.
I finished as fast as I could, cleaned up the mess and tossed the pastry bag. I have now ordered new ones, plastic ones, as well as some new decorating tips.
.
All this delay meant that the lovely raspberries I had purchased fresh from Whole Foods were no longer so fresh by the time I was ready to use them. This meant yet another trip to the store for fresher raspberries.
.
Ok, adventure reported! We can finally get to the recipe for this cake, which, for all the problems I had creating it, turned out to be fabulous. I will add tips along the way, as well as the problem solving I had to do.
.
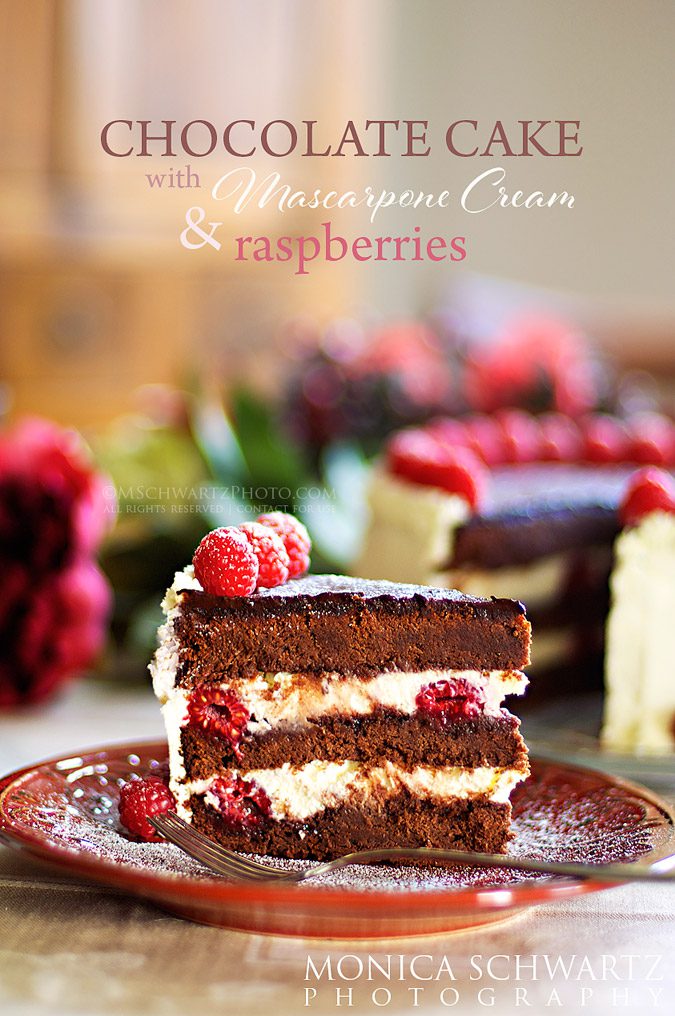
CHOCOLATE CAKE WITH MASCARPONE CREAM AND RASPBERRIES
yields 1 10-inch diameter cake – 8-10 abundant portions
FOR THE CHOCOLATE CAKE
all ingredients at room temperature
- 280 gr. (2 cups) cake flour, sieved
- 50 gr. (1/2 cup) cocoa, sieved
- 1 & 3/4 teaspoons baking powder
- 1 pinch salt
- 120 gr. (1/2 cup) softened butter + extra for the pan
- 400 gr. (2 cups) caster (superfine) sugar
- 2 large eggs + 1 yolk
- 333 gr. (1 & 1/3 cups) plain low-fat yogurt
- 156 gr. (5.5 oz.) 70%-cocoa good quality chocolate, coarsely chopped
- 2 teaspoons pure vanilla extract
.
FOR THE CAKE FILLING
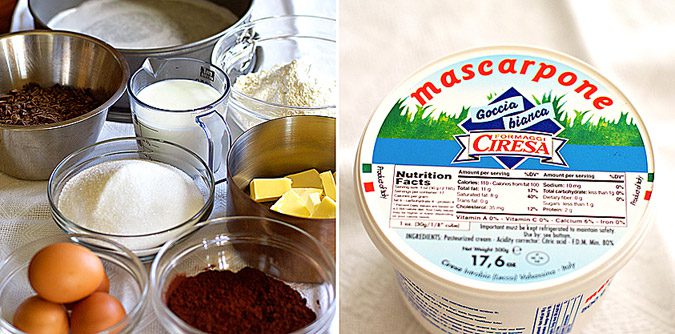
- 500 gr. (1 tub – see photo) real Italian-made (imported) Mascarpone cheese, at room temperature
- 130 gr. (2/3 cup) caster (superfine) sugar
- 240 ml. (1 cup) fresh whipping cream
- 430 gr. (15 oz.) ca. good quality raspberry jam at room temperature – my favorite jams are by St. Dalfour; they are the ones in the skinny jars with blue label and lid
- 1/2 cup water
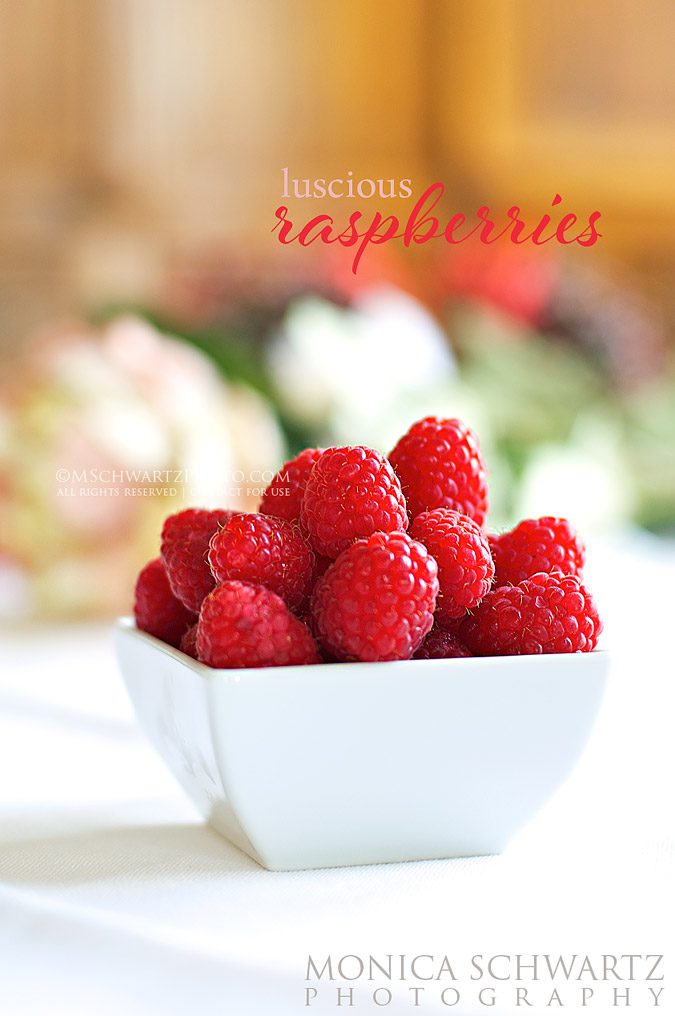
- 3-4 baskets of fresh raspberries, enough for both filling and decoration
.
FOR THE CAKE DECORATION
GANACHE
- 250 gr. (8.8 oz.) good quality, 70%-cocoa chocolate, coarsely chopped
- 125 ml. (4.2 fl. oz.) fresh whipping cream
- 1 Tablespoon butter
.
CREAM FROSTING
- 300 ml. (10 fl. oz.) fresh whipping cream
- 1/2 teaspoon cream stabilizer (in specialty food stores, or from N.Y. Cake & Baking Supplies)
- 3 Tablespoons powder sugar, sieved + extra for dusting if desired
.
You will also need:
- 1 10-inch round springform cake pan
- parchment paper
- rotating cake decorating stand – not necessary but desirable
- metal spatulas
- pastry bag with tip of choice
.
.
PHASE 1 – BAKE THE CAKE
.
Step 1 – Assemble the ingredients. Butter a 10-inch diameter round springform cake pan, cover the bottom with a round of parchment paper, making it adhere well, then butter that as well. Preheat the oven to 340ºF/170ºC. Make sure the temperature is correct by using an oven thermometer, as each oven is slightly different.
.
Step 2 – Combine the sifted flour, cocoa, baking powder and pinch of salt in a bowl.
Gently melt the chocolate with a little of the butter in a bain-marie (a heat resistant bowl set on top of an appropriately sized pot with simmering water – the top bowl should not touch the water). Set aside to cool slightly.
.
Step 3 – In a large bowl, and using a whisk or Kitchen-Aid mixer, beat together the sugar and the rest of the softened butter until fluffy. Add the eggs and yolk one at a time, waiting to add the next one until the first has been completely incorporated. Sift in half of the flour/cocoa mixture, blending well after each addition, and scraping down the side of the bowl with a rubber spatula to make sure everything is incorporated. Add the yogurt and blend. Add the melted chocolate and the vanilla and blend. Now sift in the rest of the flour/cocoa mixture, proceeding as before.
.
Step 4 – Pour the batter into the cake pan, distributing evenly, then place it on the center rack in the oven and bake for about 50-60 minutes, or until a wooden stick inserted in the center comes out clean. Remove the cake from the oven and place on a rack to cool for a few minutes. Remove the cake from the pan and let it cool completely on the rack.
.
This base recipe is also excellent as a bundt cake, simply sprinkled with powder sugar and served with a little fresh whipped cream on the side.
.
PHASE 2 – PREPARE THE FILLING
.
Step 1 – In a small saucepan heat about 3/4 cup of the raspberry jam with half cup of water, stirring until well blended. Remove from heat and set aside. This will be your syrup to soak the cake with.
Pour the rest of the jam in a bowl and stir to soften and make spreadable. Set aside.
.
Step 2 – Place the fresh cream in a cold bowl and whip it to a stiff softness, then temporarily place back in the refrigerator, covered, until ready to use.
.
.
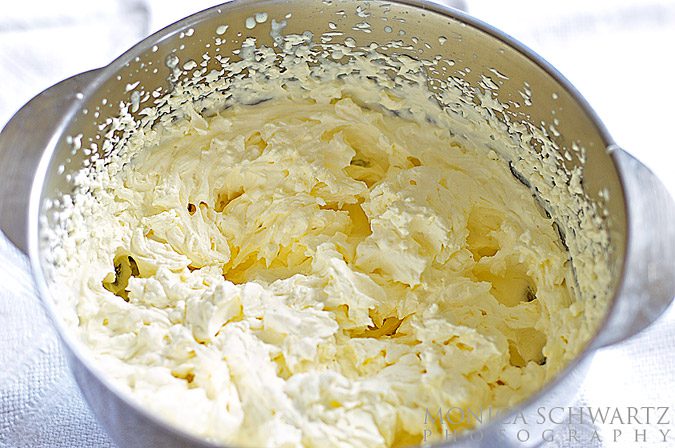
Step 3 – Using a whisk or a Kitchen-Aid mixer with the whisk attachment, whip the mascarpone cheese with the sugar to smooth and fluffy. Gently fold in the reserved whipped cream. I usually start this process with a whisk and then finish with a rubber spatula. Use gentle, circular movements up to down and down to up, until perfectly blended. Set aside.
.
PHASE 3 – ASSEMBLE THE CAKE
.
You can set this up in one of two ways. The idea way is to have a rotating cake stand with a carton cake board of appropriate size on top of the rotating plate and inside a cake ring. The cake ring can be the one from the springform pan, though that might not be tall enough.
Otherwise you can do this directly on the plate you will use to serve the cake on. Place the cake ring on top of this plate.
.
Step 1 – Place the chocolate cake on a cutting surface and, using a serrated knife, carefully slice the cake horizontally into three equal parts. If you are uncertain about your slicing skill, I find this cake-layer slicing ring to be quite helpful. If the top of the cake is a little cracked and imperfect, you can use that as the bottom of the cake.
.
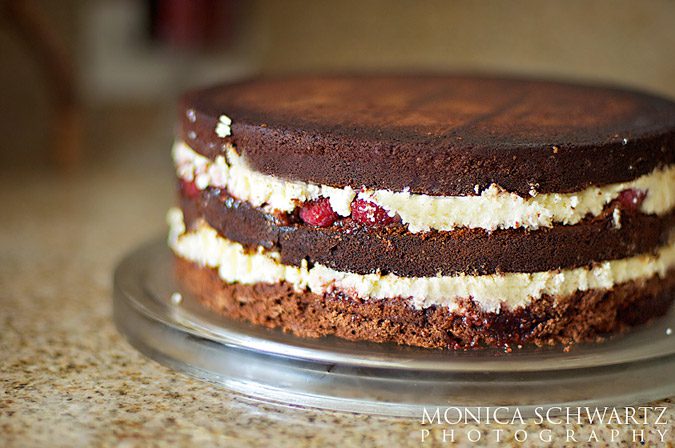
Step 2 – With the help of a large cake spatula, place the top layer of the cake top-down inside the cake ring on the serving plate. Using a pastry brush, gently soak the bottom layer with some of the syrupy jam. Then spread a nice layer of raspberry jam on top, and dot with some of the fresh raspberries. Using a spoon, spread half the mascarpone cream on top of that, filling in the gaps between raspberries.
Now place the second layer of chocolate cake on top and gently press to even out. Repeat the process.
.
Step 3 – Before you place the third and final layer of cake on top, also brush that layer with the liquid raspberry jam, then place it on top of the cake with the wet side/cut side down. Press gently to even out. Cover with plastic wrap and place in the refrigerator for a few hours to set.
.
.
Note: what I had to do with the already chilled and set mascarpone cream mousse was to patiently and slowly add it to the spaces among the raspberries and gently press it in to make sure that no gaps were left. Fingers came in very ‘handy’ here. 😉
I hope this doesn’t happen to you, but if it does, it is not the worse thing to have to do, just frustrating.
.
PHASE 4 – PREPARE THE GANACHE & WHIPPED CREAM FOR DECORATING
.
GANACHE
Place the chopped chocolate in a heatproof bowl. Bring the cream an the tablespoon of butter to a simmer in a saucepan. Pour the hot cream on top of the chocolate, cover with a lid (or plate) and let sit for 3-4 minutes.
Using a whisk, and starting from the center, gently stir the chocolate and cream until a glossy, creamy ganache forms. Set aside to cool to room temperature and a spreadable consistency.
.
How to rescue a separated ganache:
When a chocolate ganache separates it looks like curdled egg custard, it won’t spread and will just slide all over the place in little dribbles.
To rescue it, add a small amount of cold cream to the ganache and blend with an immersion blender (or food processor). The emulsified cold cream should bring the broken ganache back together. The operative word here being ‘should’.
.
WHIPPED CREAM
Place the fresh whipping cream in a cold bowl with the sugar and the stabilizer then whip to a stiff softness. Store covered in the refrigerator until ready to use.
.
FINAL PHASE – DECORATING THE CAKE
This will be much easier with that rotating cake stand. If not, I have done this many times without such wonderful device, with lots of patience and care.
.
.
Step 1 – Once the ganache is at room temperature and of spreadable (without being runny) consistency, remove the cake from the refrigerator and remove the cake ring. Brush off any crumbs, then gently pour enough ganache on top of the cake and, with the help of a metal spatula, spread it evenly all the way to the edges of the top. If some of it runs down the sides, don’t worry, as it will be covered by the whipped cream.
If you want to cover the whole cake with chocolate ganache, just double the dose of ganache you are making.
Place the cake back in the refrigerator for a few minutes until the chocolate ganache has set.
.
Step 2 – Remove both cake and stabilized whipped cream from the refrigerator. Using a flat metal spatula begin spreading the cream up the sides of the cake, creating an even coating. You can do a first layer, then a second, finishing with upward strokes to give it an even pattern appearance.
.
Step 3 – You will now need a pastry bag (can be a ziplock with a corner cut off) with a decorating tip of choice. I used a star tip this time. Insert the tip in the empty bag until it comes out of the hole. The opening needs to be just the right size so that the tip can come out in part, but not slide out when pressed.
Fill the pastry bag with the remaining whipped cream and twist the open end to secure and also to help you squeeze. You will be twisting more as you work and the amount of cream in the bag diminishes.
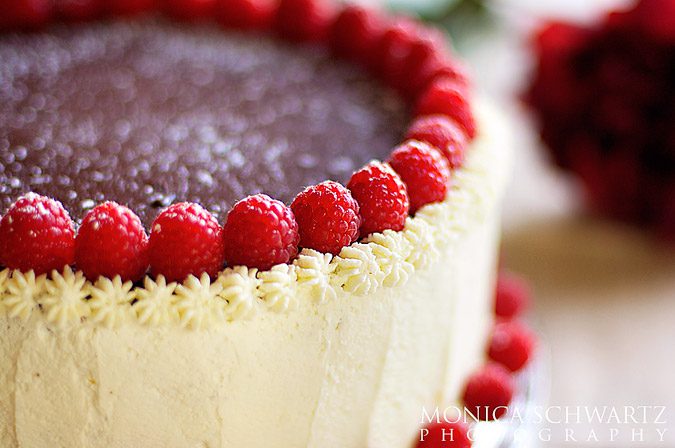
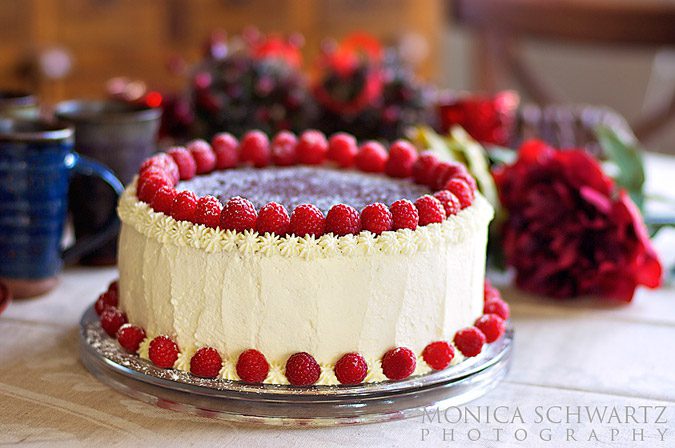
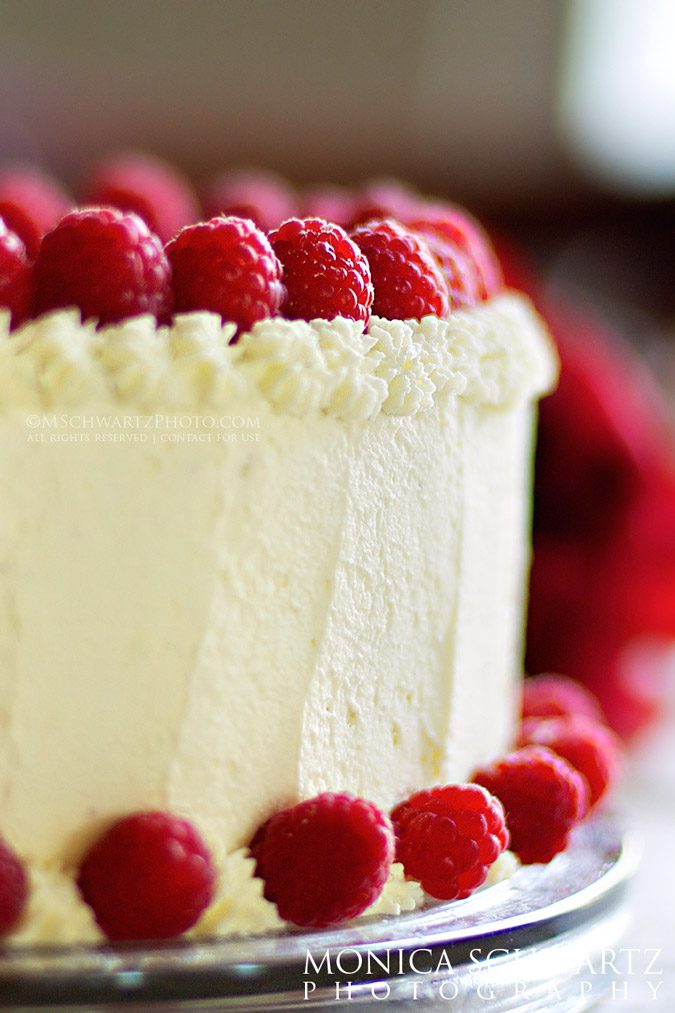
Pipe some cream rosettes around the top edge of the cake, both to decorate and ‘seal’ the border between chocolate and cream. Decorate the inside circle on top of the cake with fresh raspberries.
.
You can complete the decoration by piping cream rosettes also around the base of the cake, leaving room for more raspberries in alternating fashion.
.
.
The cake is now ready to serve, or be placed back in the refrigerator appropriately covered.
Dust with powder sugar only before serving (if you like).
.
SERVING THE CAKE
Slice the cake with a large, sharp and hot knife. You can heat the knife by immersing the blade in boiling water for 2-3 seconds and wiping it dry before cutting each slice.
.
.
This cake, besides being incredibly good, is also very festive looking, so I thought I would share the recipe now, well in time for the Holidays, just in case your brains are already percolating with ideas of what to cook and bake.
Have I inspired you to get baking? I hope so.
.
.


What a beauty! And four days later? Well done Monica!
So I made this for Christmas. It turned out really good even though I cannot remember when I last baked a cake. Even dividing the cake into three parts worked out OK without a cake spatula because the paper helped the last leyer cling to the bottom of the false bottom pan and become the top of the cake. It is super rich, as you can tell from the butter and chocolate and cream. Not too sweet. and quite beautiful
Hi Gail: I am so glad you enjoyed the chocolate cake! Oh yes, between the cake recipe plus the mascarpone cream, it can get quite rich! Decadent indulgence! I have also always managed without the big spatula, using just two smaller ones, but if you need to move the whole cake from the prep plate to the serving plate, that’s when the big spatula comes in handy. Of course, most of the time, I build my cakes directly on the serving plate. 🙂
All the very best for the New Year!