.
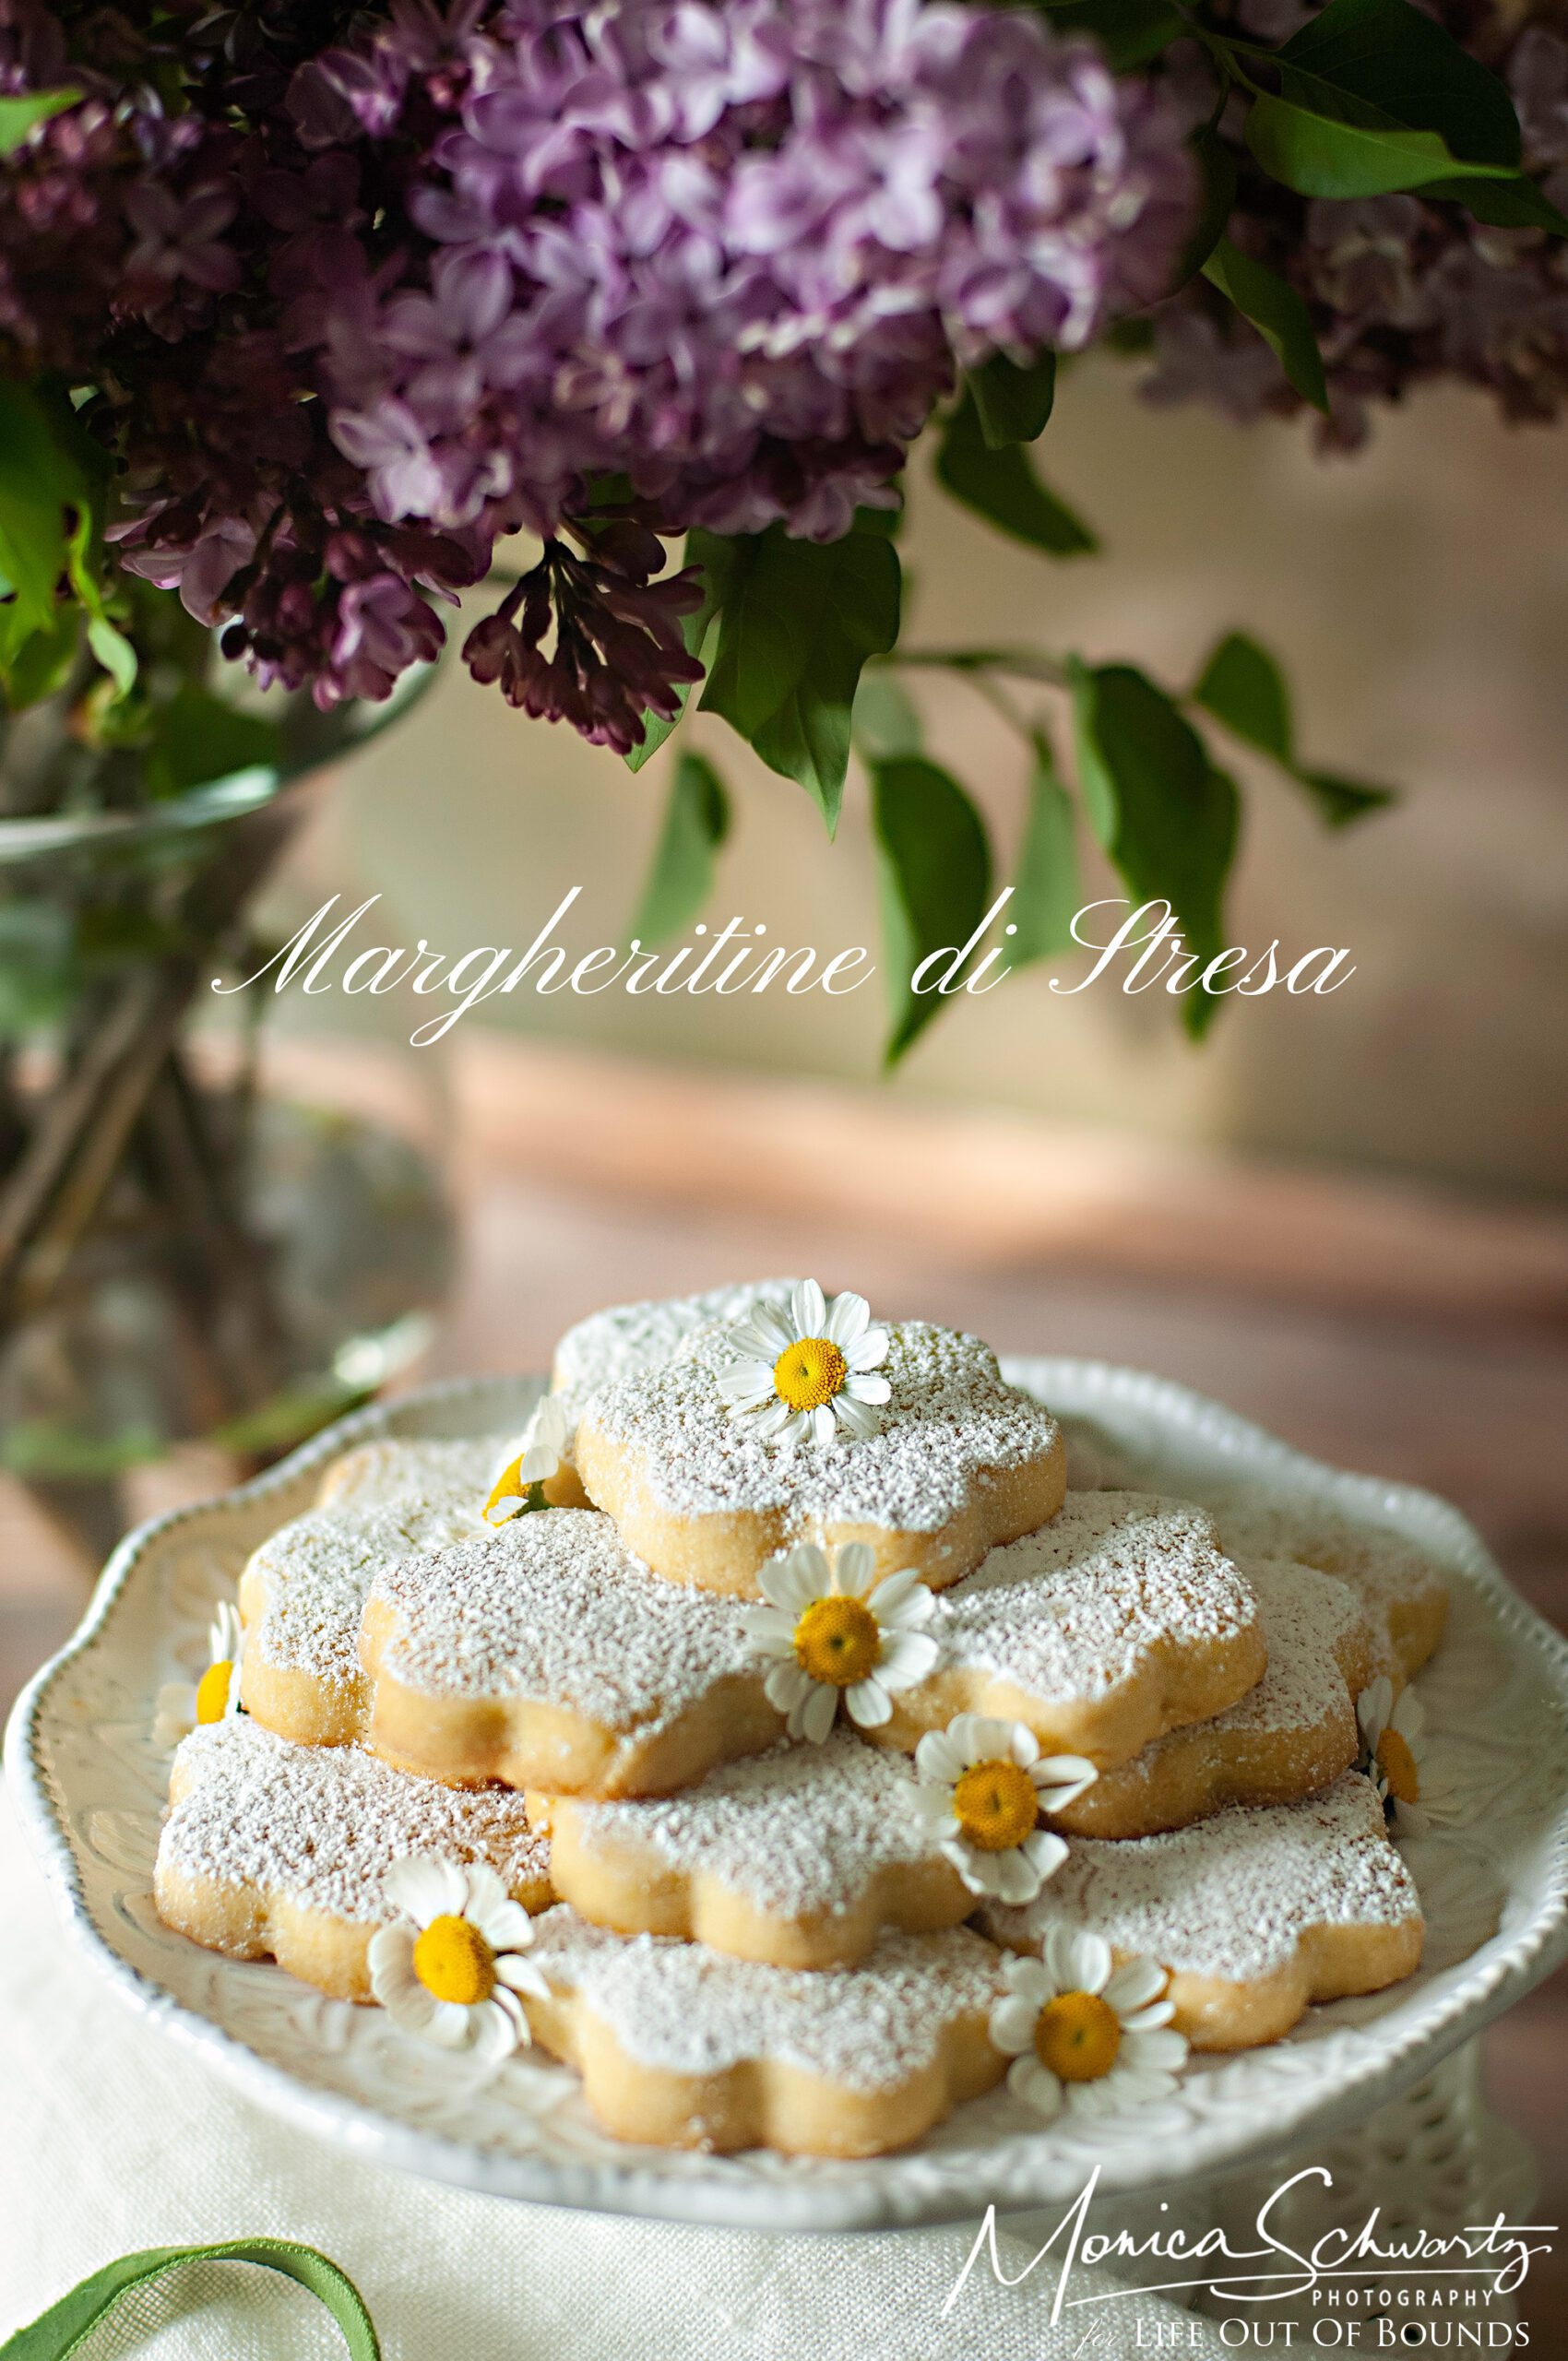
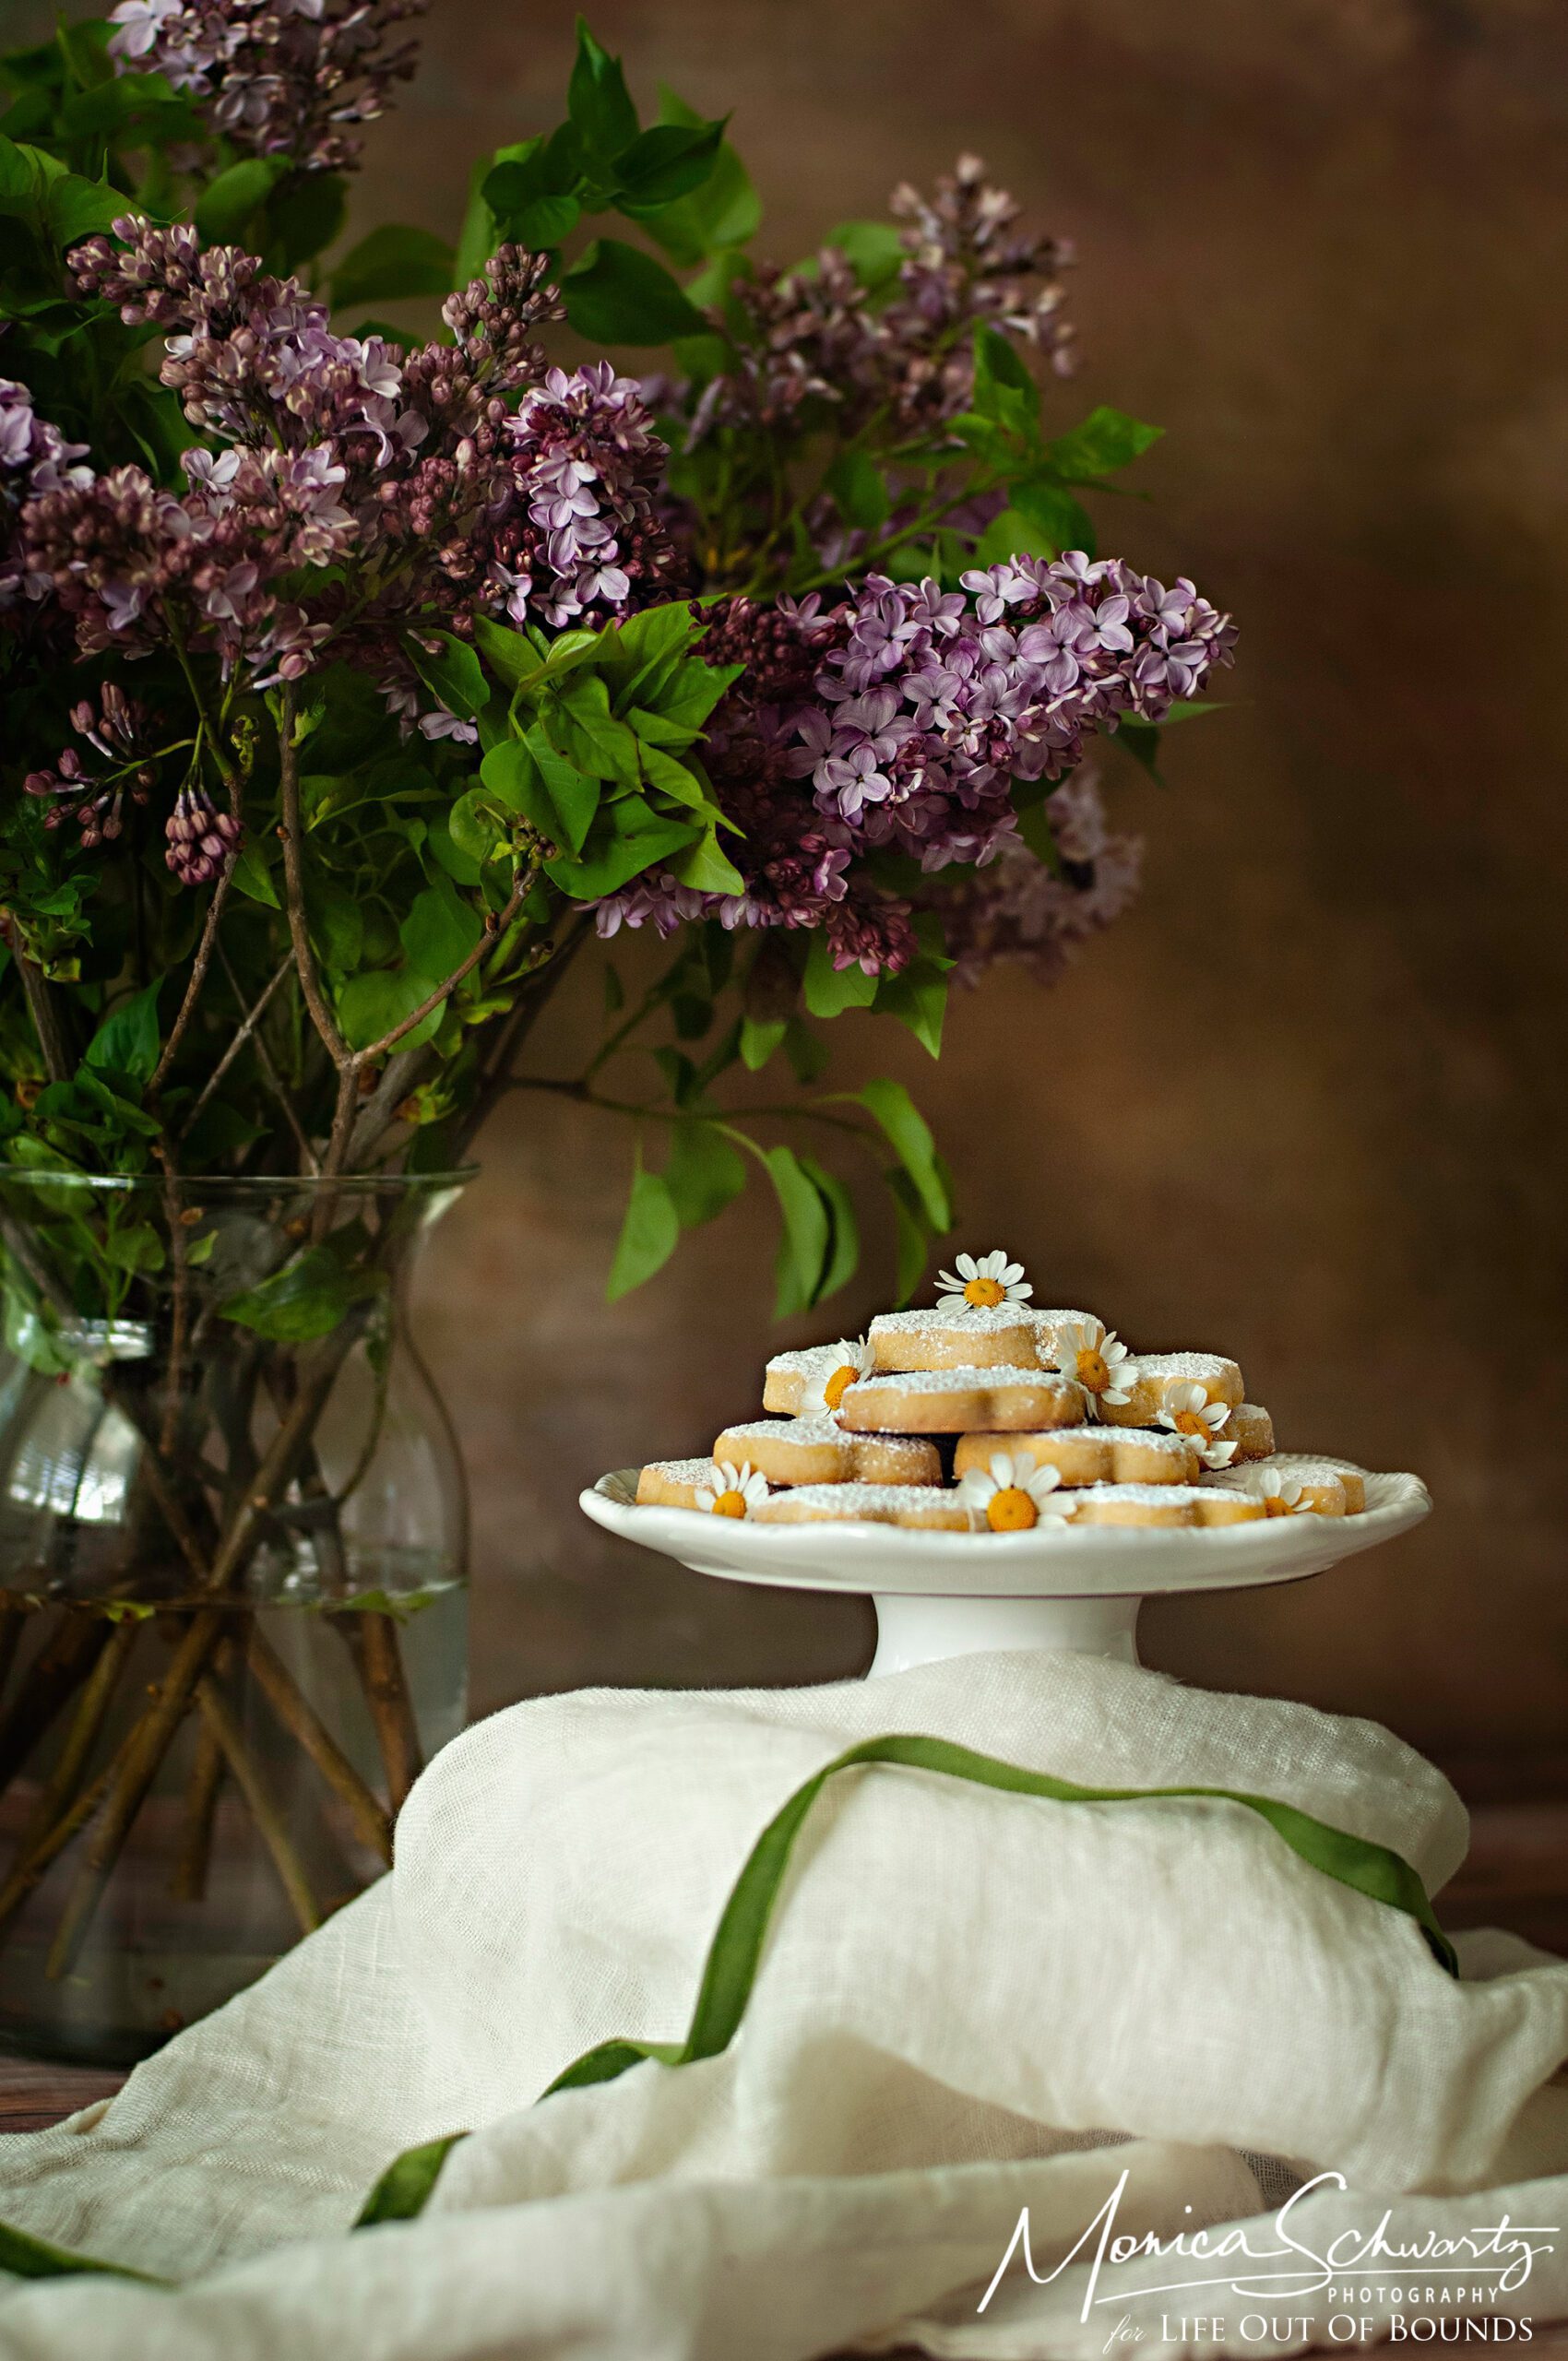
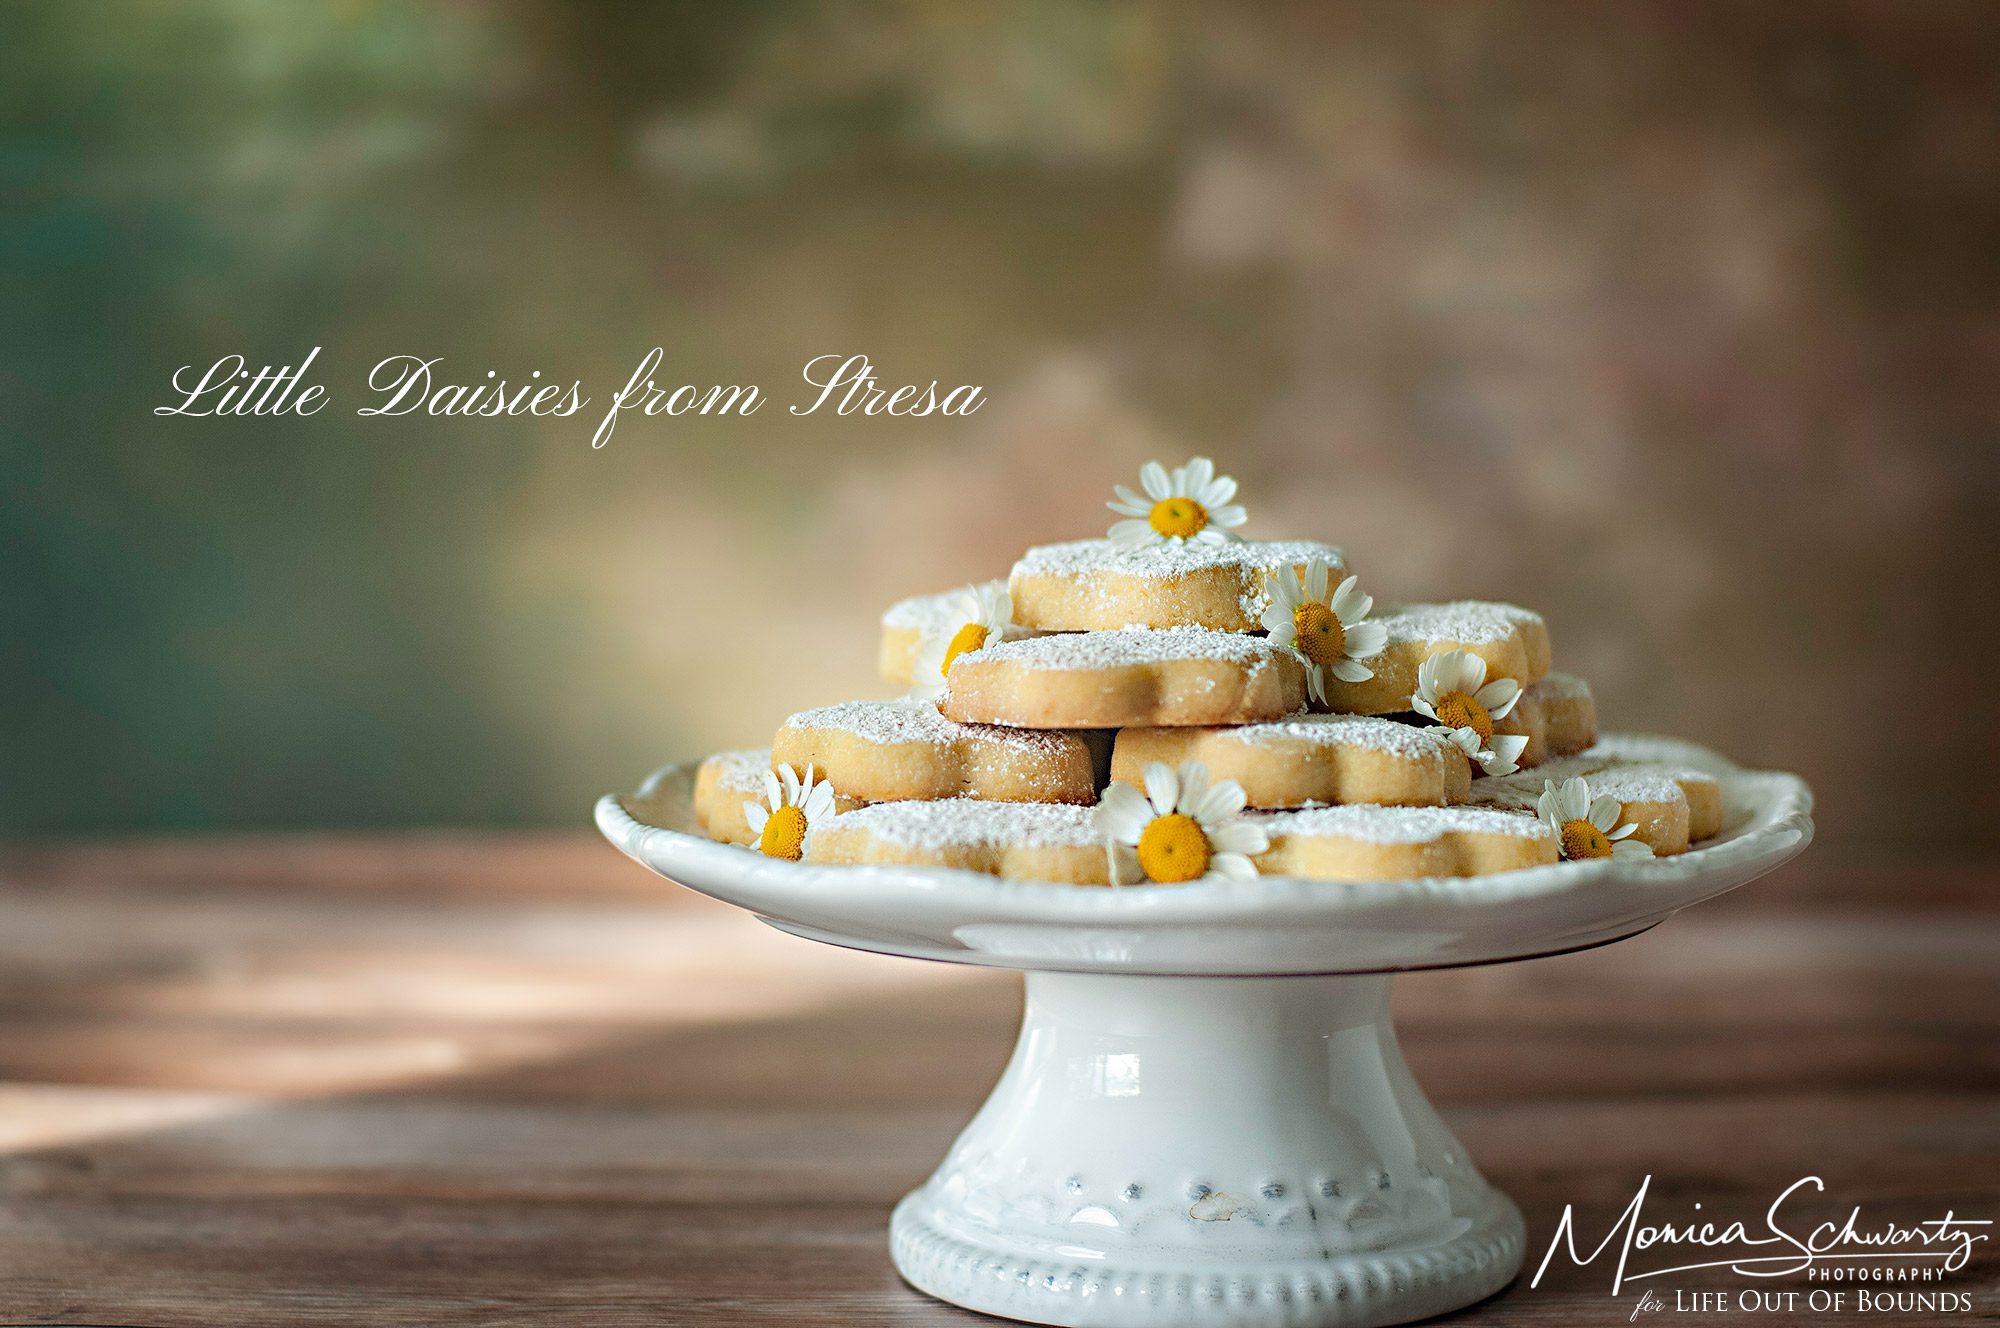
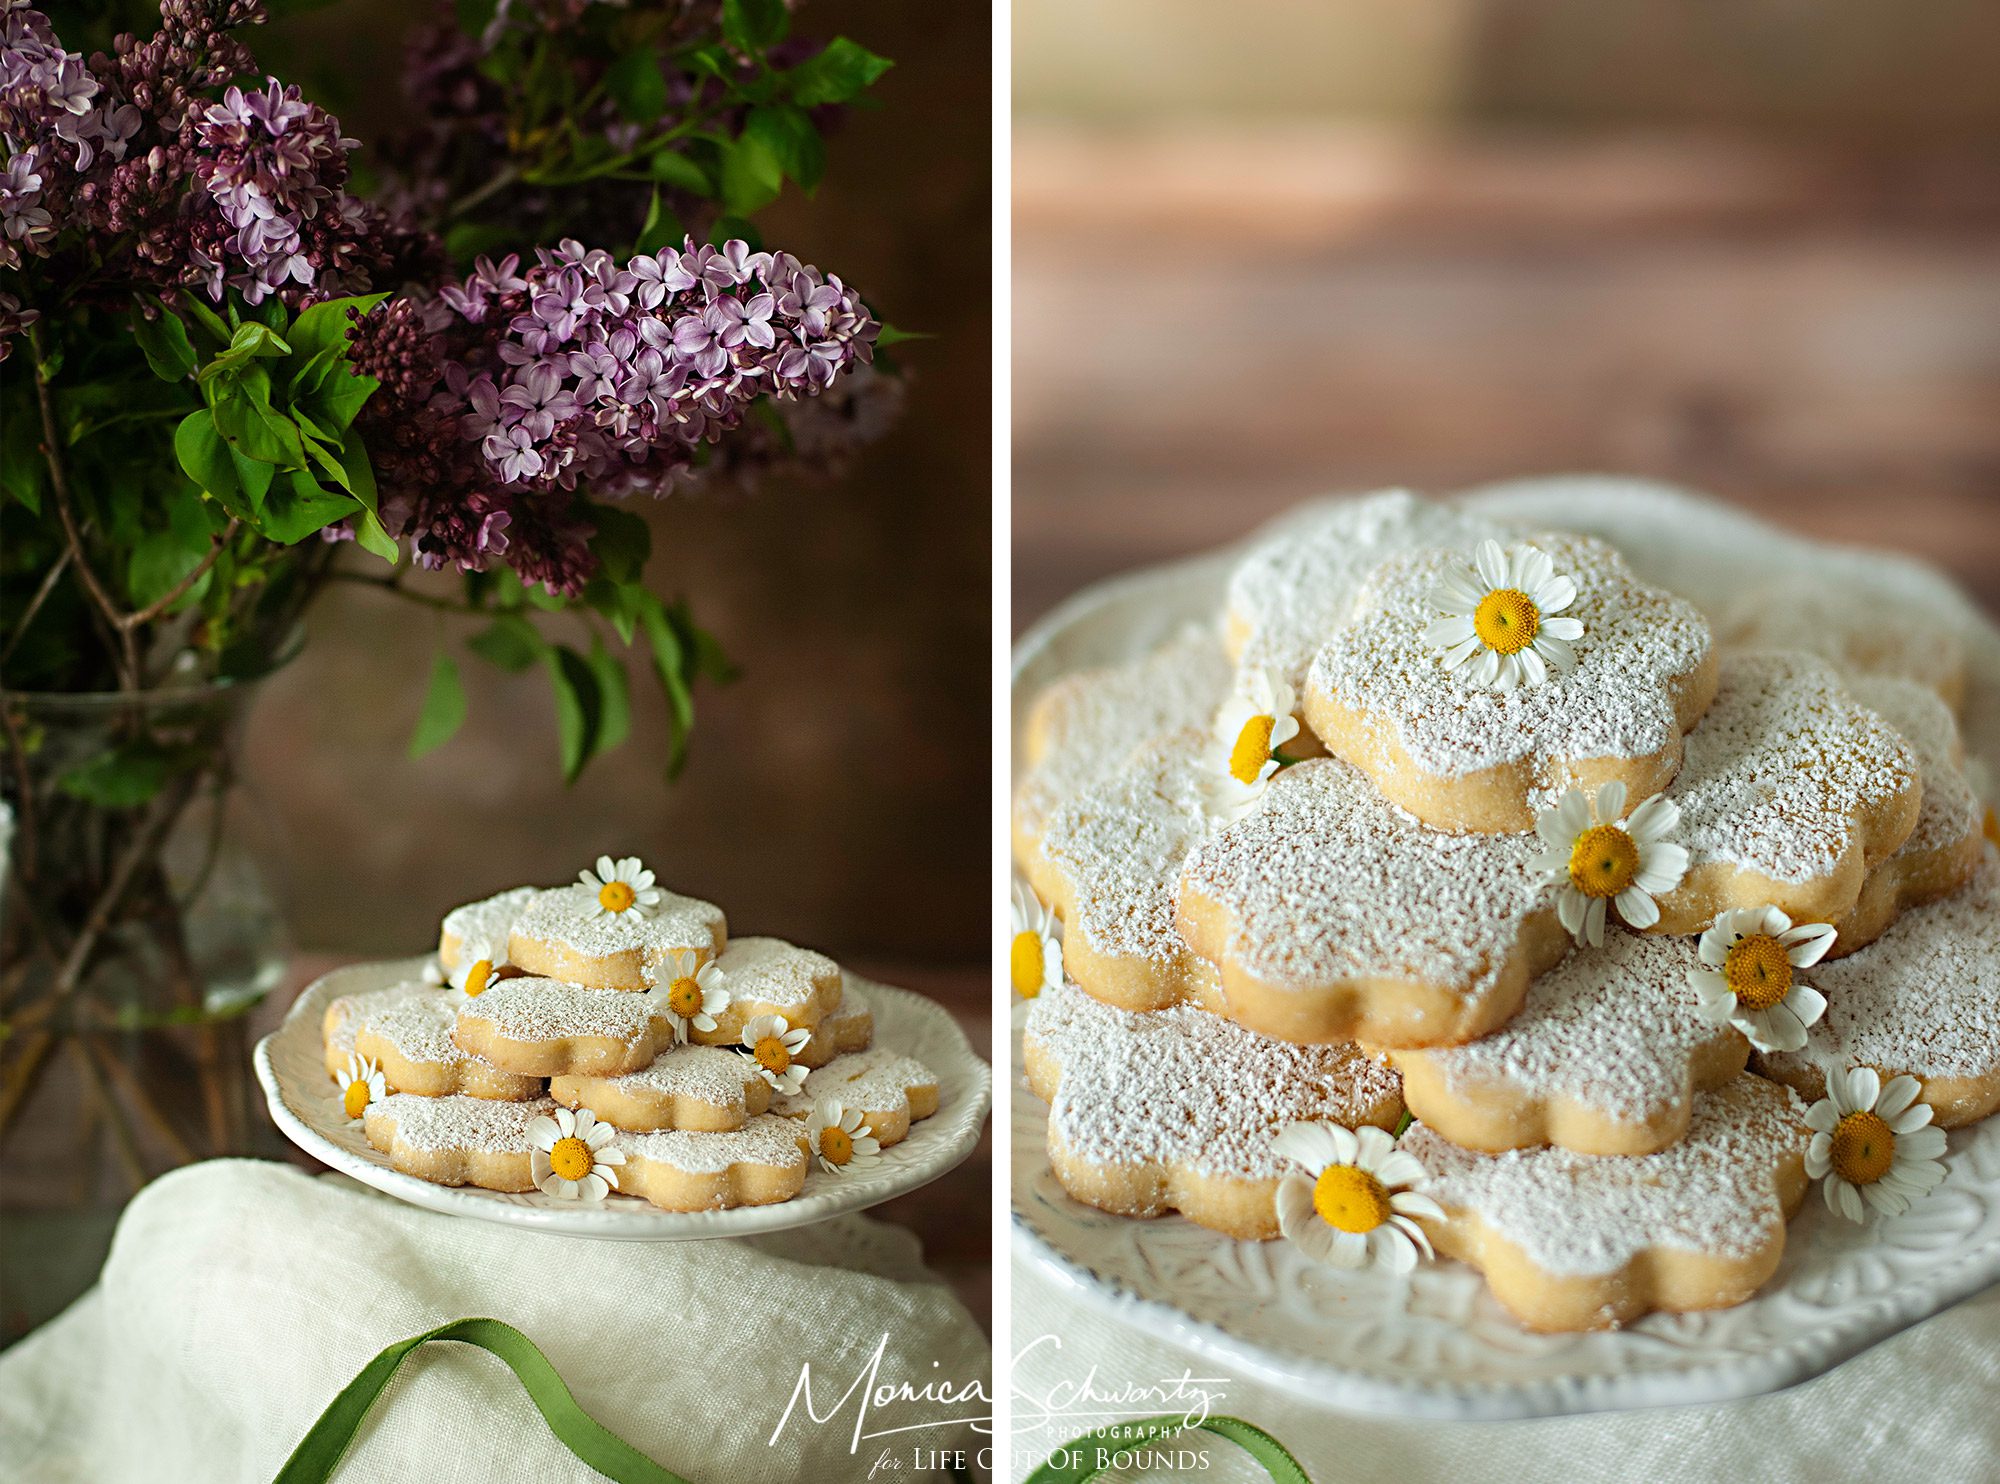
Margheritine di Stresa, or literally translated, Little Daisies from Stresa, are divine, melt-in-your-mouth, can’t-stop-eating-them cookies. Like the name says, these cookies are typical of Stresa, a picturesque and renowned town along the western shores of Lake Maggiore in Northern Italy.
Originally created in 1857 by Italian pastry chef Pietro Antonio Bolongaro, the cookies are named after princess Margherita, as they were presented to her on the occasion of her First Communion. The princess later married Umberto di Savoia, and thus became the first queen of Italy. This, by the way, is the same Queen Margherita for whom the first pizza Margherita was created in Naples.
.
.
There are about three or four types of cookies which are my top favorites, and these margheritine are in that top tier. The others being, in no particular order of preference: Palmiers, Madeleines and Vanillekipferl. A few more follow very closely, and I will share them all by and by, as I have recently been caught in a cookie baking riptide.
.
.
These days, several patisseries in the town of Stresa offer these cookies, each boasting to have the best. Of course, the cookies are known and also offered by other patisseries in Northern Italy, each with their own version. My absolute favorites are from Il Bar Gigi, a bar, patisserie & restaurant in Stresa just a short block from the lakeshore.
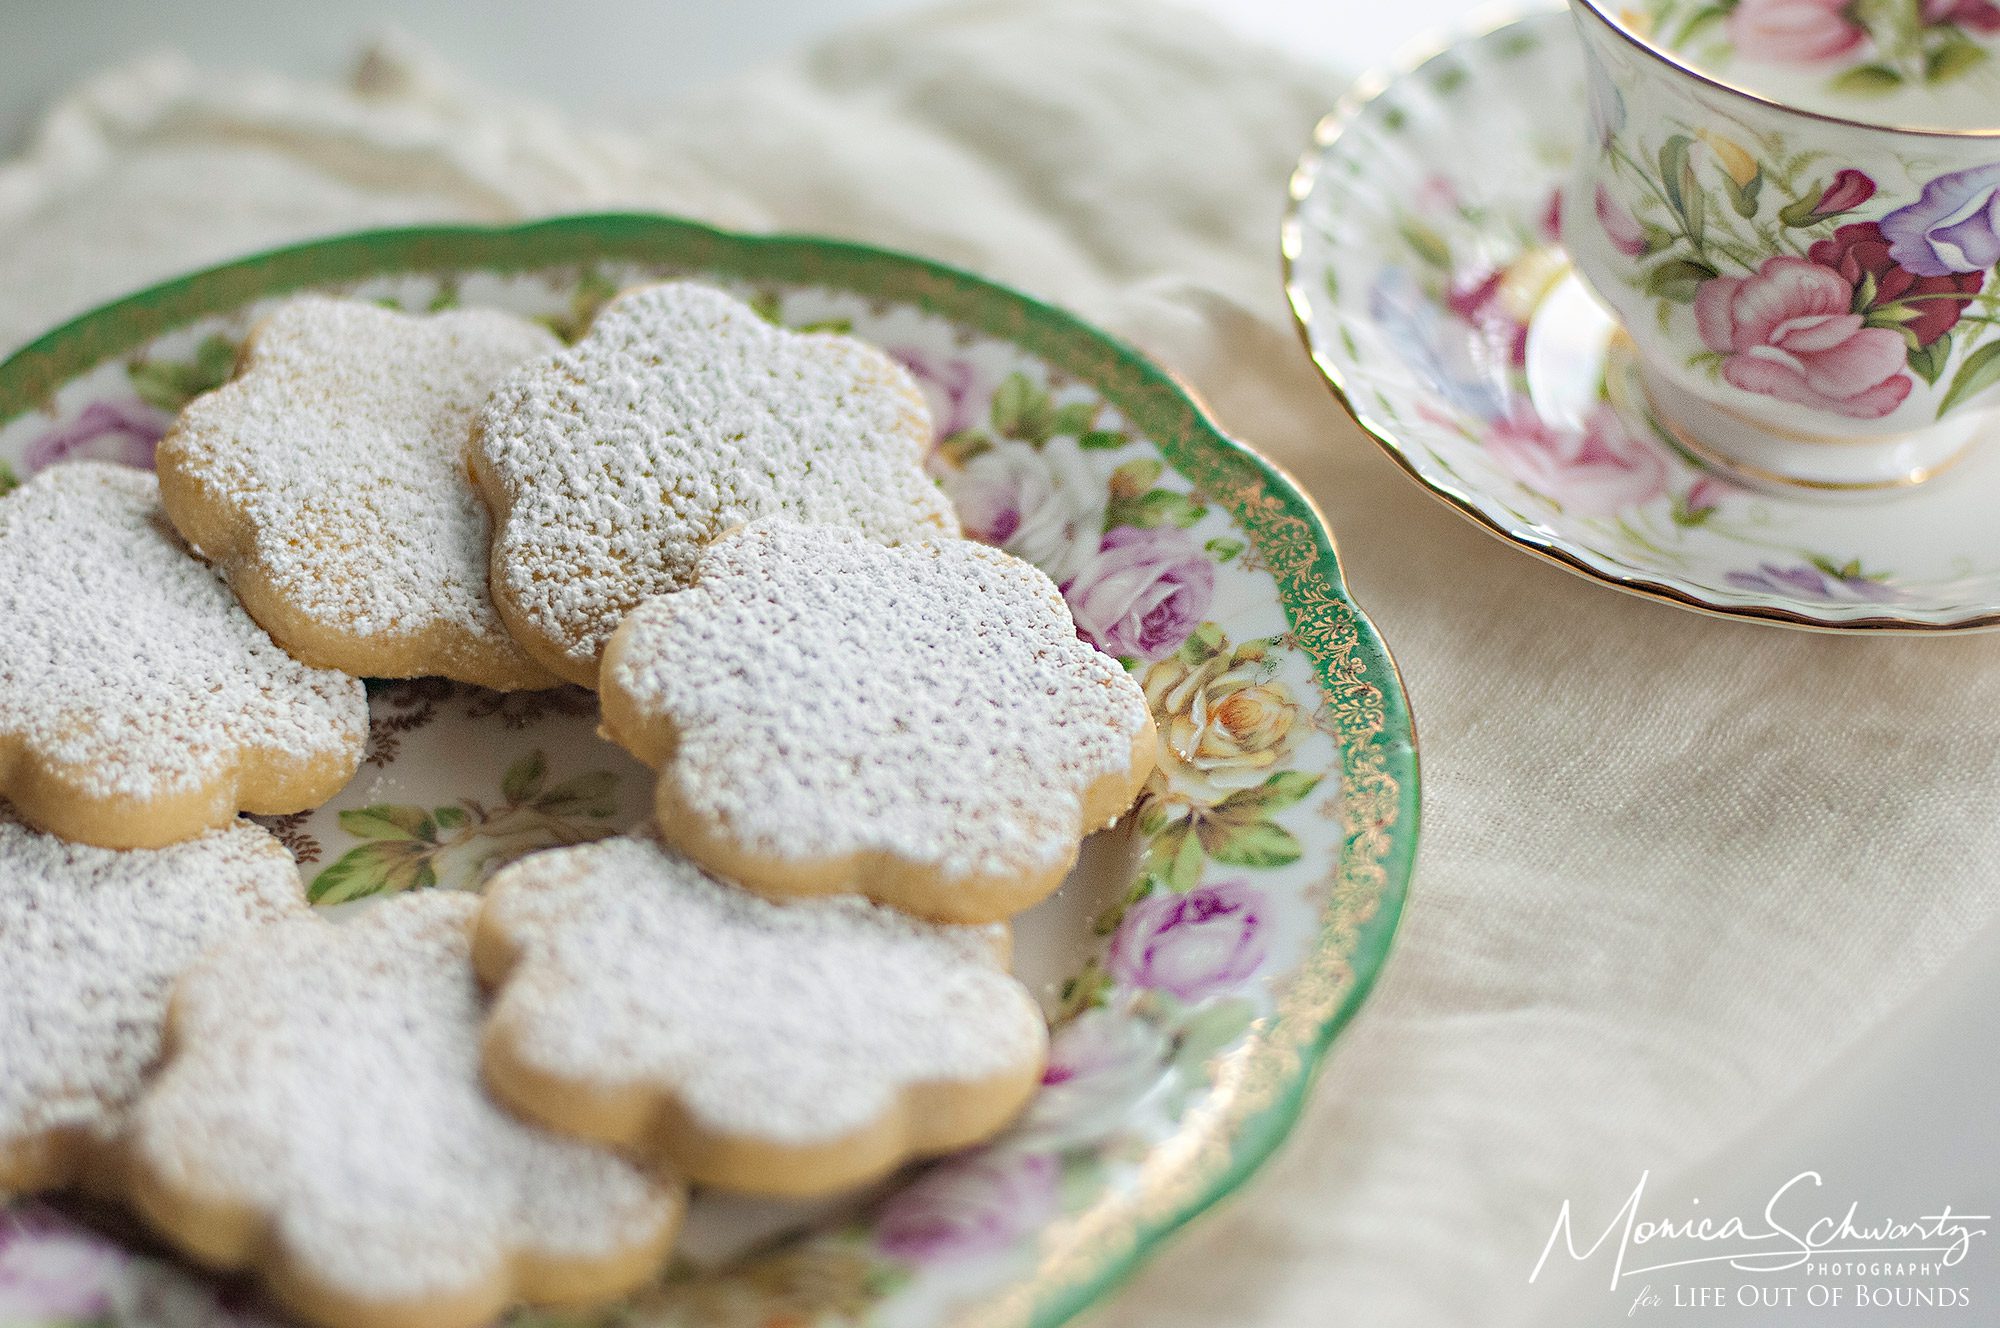
As you an imagine, those are the ones I have tried to recreate, and I think I have done quite well. The ingredients are listed by law, of course, yet the trick is figuring out the amount balance for each. A quick search around the web yielded three separate sources that shared the exact same recipe. I thought that would be a good place to start. The recipe came close, but not really.
.
.
The result was a cookie that was a bit too dry and lacking in something: a richness, a “oh-my-this-is-so-divine” sigh of blissful satisfaction when popping it into my mouth. So I tweaked, and I tweaked, first this ingredient, then that, then the size, then the baking temperature…. Essentially I recreated the whole recipe until finally I reached that texture and flavor I remembered. Are you ready to reap the benefits of all my baking tests?
.
.
MARGHERITINE DI STRESA (Little Daisies from Stresa)
yields about 28 small-ish cookies
- 150 gr. butter (at room temperature)
- 120 gr. flour (sieved)
- 80 gr. potato starch (sieved)
- 70 gr. powder sugar (sieved) + extra for dusting
- 3 boiled (for 8 minutes) egg yolks, passed through a small-sized fine-mesh sieve
- 1 & 1/2 teasp. pure vanilla extract
- finely grated peel of 1/2 lemon (if med/large lemon, or a whole one if small)
- 1/4 teasp. Kosher salt (or 1/8 teasp. if using fine sea salt)
Procedure:
- Blend the flour and potato starch and pass them through a fine sieve. Set aside.
- Cream the butter and powder sugar until well blended and no white bits of unblended butter remain. You can do this with an electric mixer such as KitchenAid on med-low speed, for about 3-4 minutes. Or you can do like I do: wear a latex glove and use your hand. Either way, always make sure to scrape off every bit from your hand or mixer spatula back into the bowl as you work.
- Add the salt, lemon peel and vanilla and blend. From this stage I use a wooden spoon.
- Add the boiled egg yolks by passing them through a fine sieve, and scraping off every bit possible from the sieve into the bowl.
- Add the flour/potato starch in 2-3 times, blending only just until no streaks of flour/starch remain. Don’t over mix. Now collect the (slightly sticky) dough with your hands and gently press into a flattened ball or thick disk. Wrap it in plastic wrap and refrigerate for about 45 minutes.
- Place the dough between two sheets of parchment paper and gently roll out to a thickness of about 9-10mm. In countries that use inches, you can use a rolling-pin that leaves a 1/4″ gap plus a 1/8 rubber spacer band and that will get you close enough. The parchment will prevent you from using too much flour sprinkling, if any, thus avoiding adding more flour to the cookies.
- Carefully cut out the cookies, quickly rework and roll out the remaining dough and cut out more until you have used it all up. Place them on rimmed half-sheet baking pans lined with parchment, leaving about 1 to 2 inches (3-5 cm) space between them. You will need 2 baking pans for all of them. Then cover them well with plastic wrap (or fitted pan lids if you have them) and refrigerate for a minimum of 2 hours.
- When you are ready to bake, pre-heat the oven to 338F/170C. Bake the cookies for about 14-18 minutes. The cookies will not change in color, except for a little light gold tone on the bottom. Remove from the oven and let cool on the baking pan for about 5 minutes, then, using a spatula, carefully transfer to a rack till cooled completely. Dust with powder sugar and enjoy.
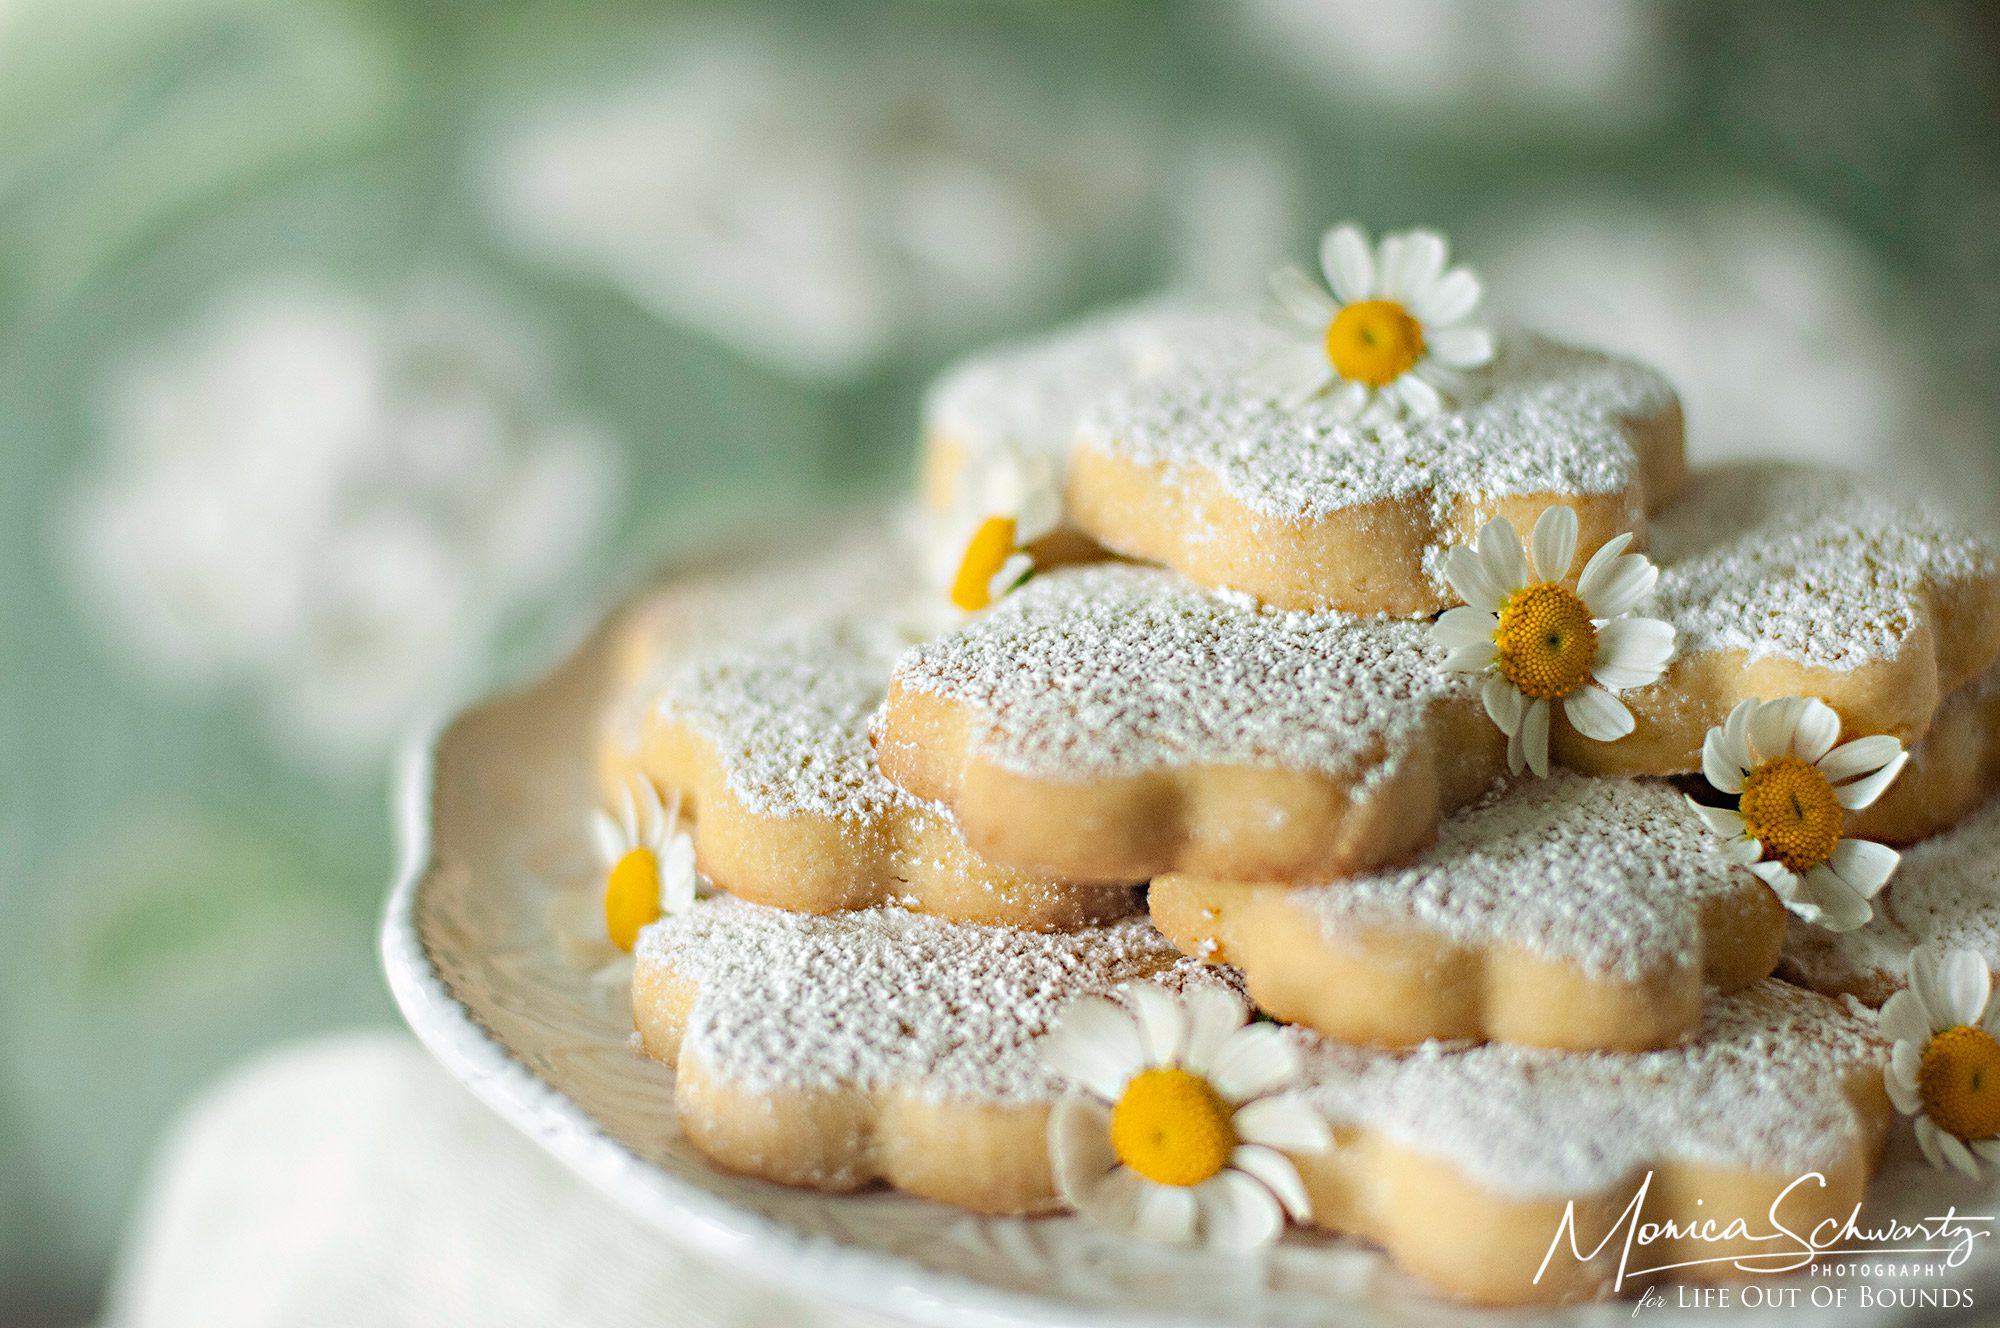
The finished cookie will be tender and melt-in-your-mouth delicious.
Yes, you can double up the recipe. And yes, they can be frozen for up to a month, though if you plan to, wait to coat with powder sugar until you are ready to eat them.
.
.
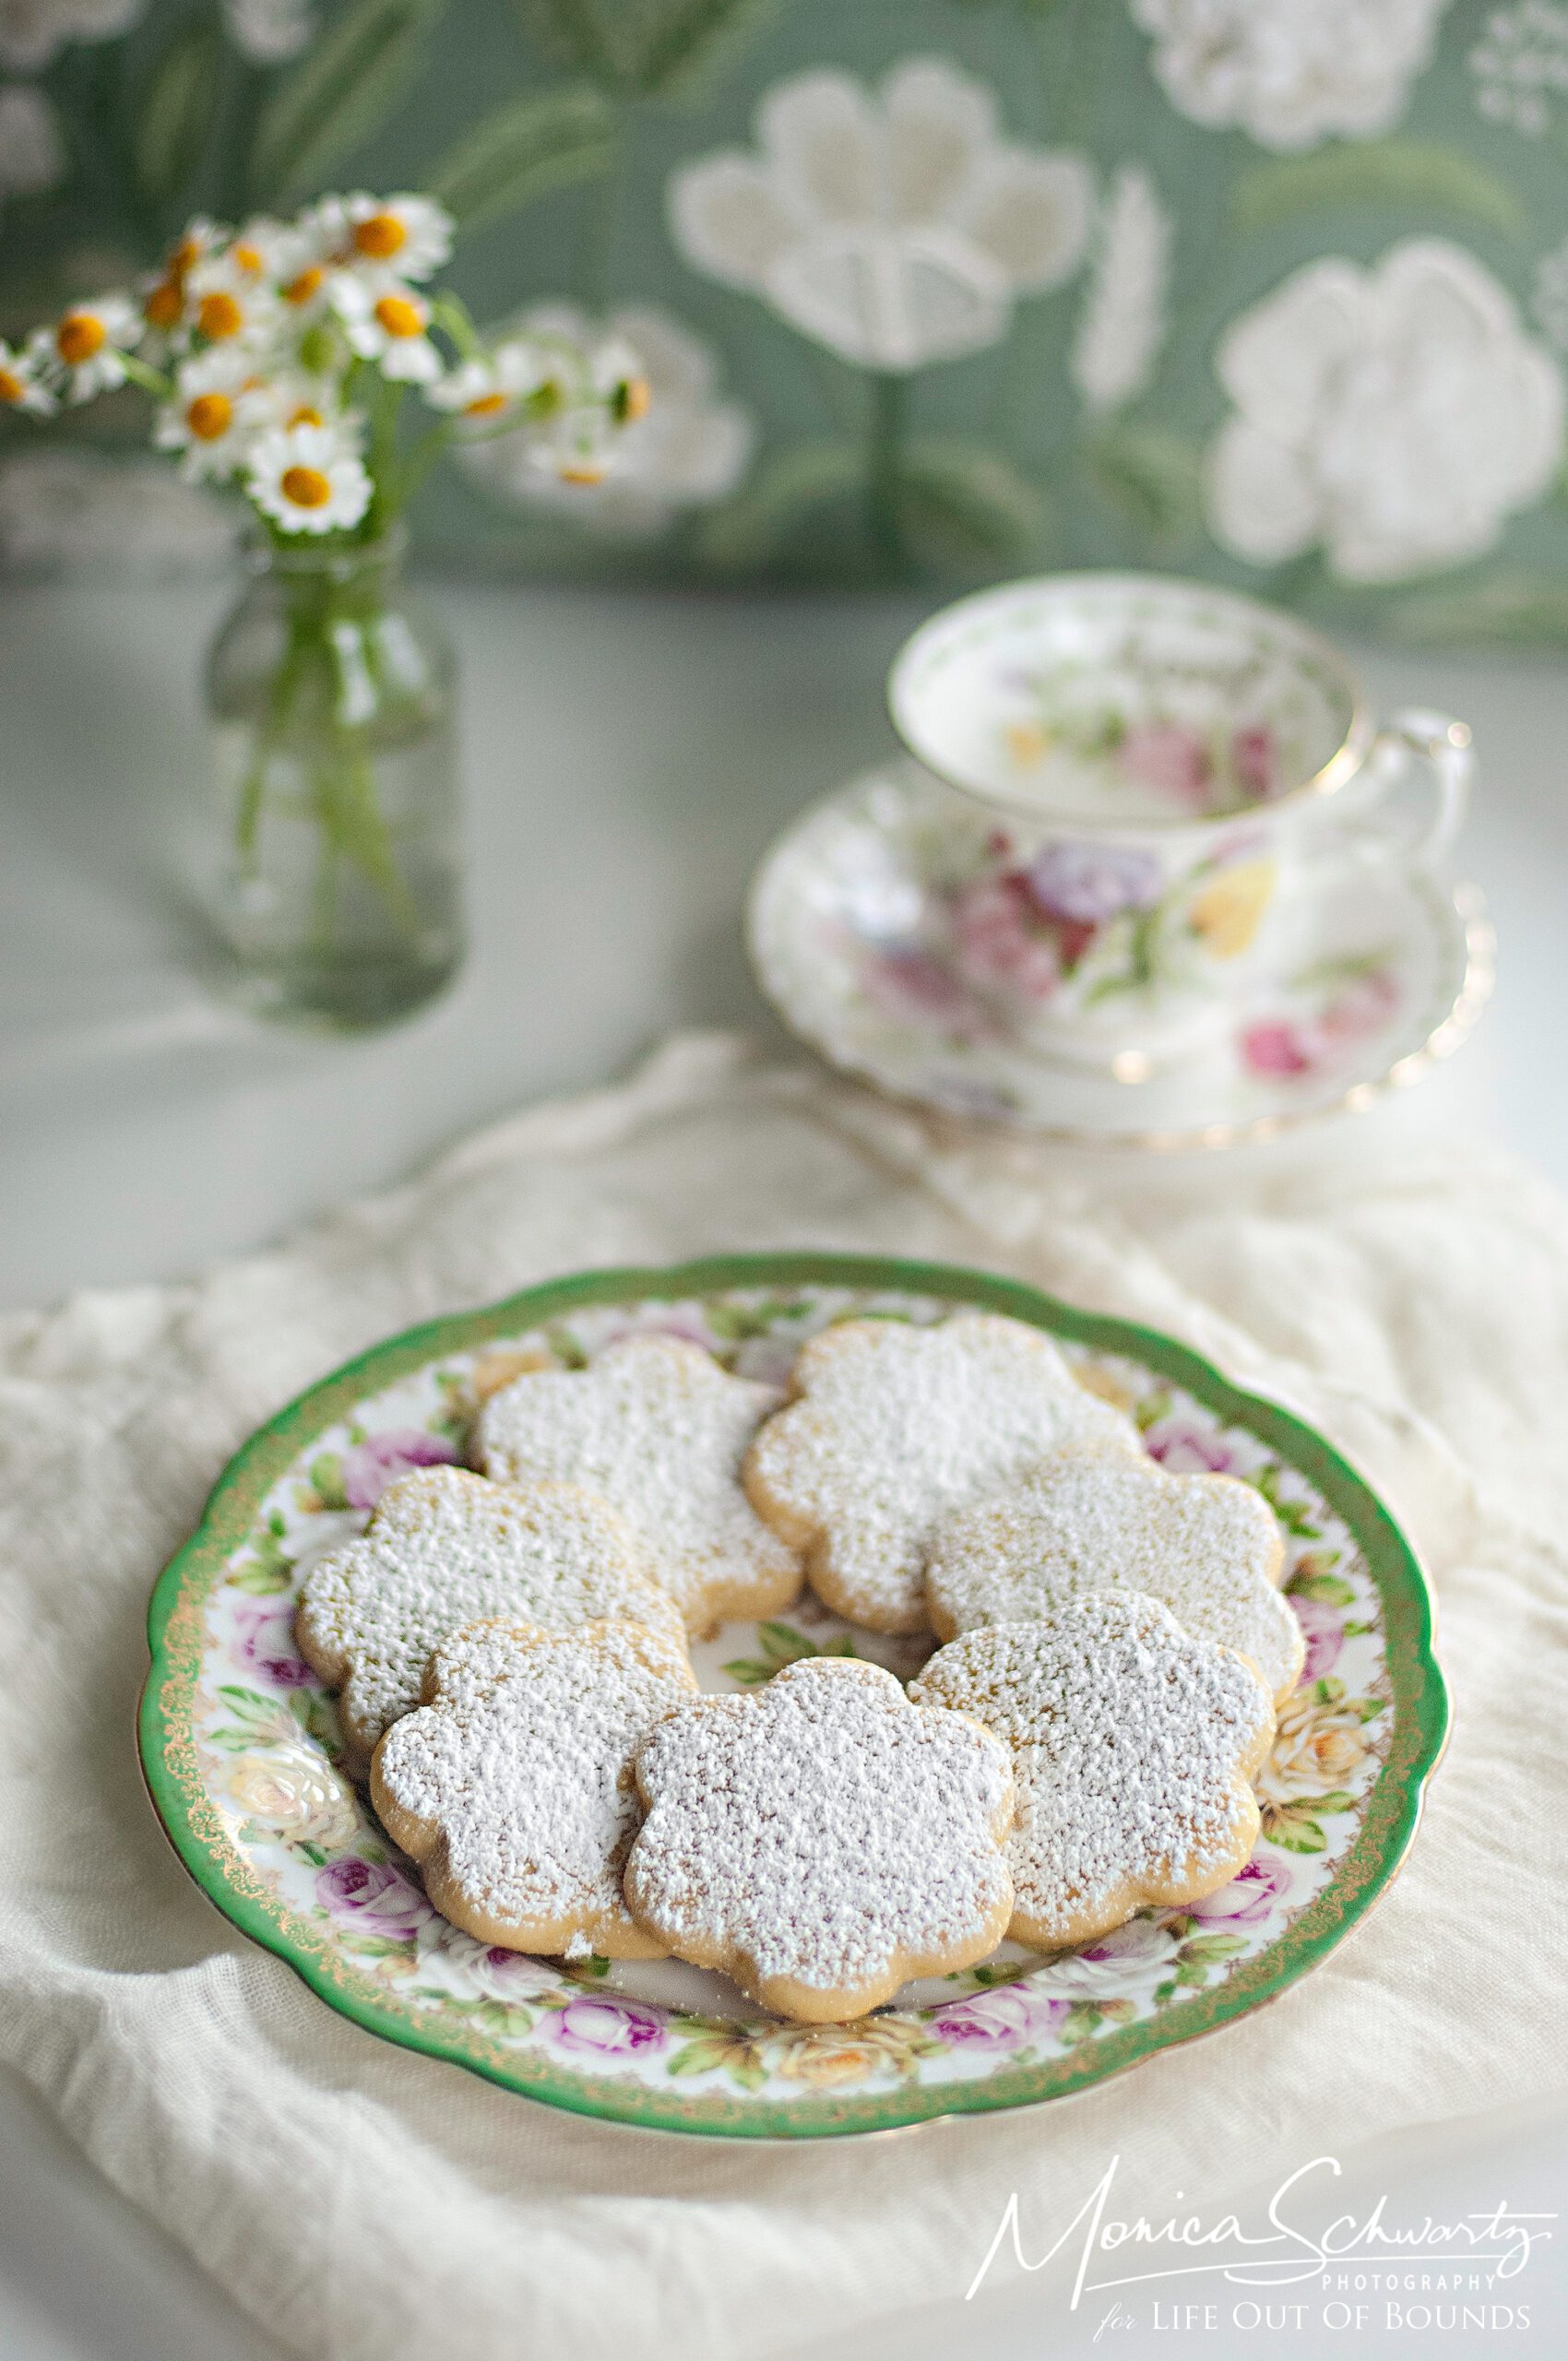
I hope you will enjoy these cookies as much as I do. They are divine in their simplicity. As it is, I am heading downstairs before I finish this article to take out some butter from the refrigerator just so I can make another batch. I had better boil some eggs, too.
.
.
.


